Gathering Assets
Download the Assets
Section titled “Download the Assets”This walkthrough needs two kinds of assets, neither of which ships with the editor:
- Custom assets — the knobs, step buttons, and background art used throughout this walkthrough, plus the ready-made processor presets used in Sound Design. Download them here: 303-walkthrough-assets.zip
- Wavetables — used as the sound source for the bass voice. This walkthrough uses the free Serum wavetable pack from bvker.com: bvker.com/free-serum-wavetables
Download both and unpack them into a folder of your choice — anywhere outside the project folder. Assets aren’t picked up by being copied into a project’s file structure; they’re imported explicitly from inside the editor, which is covered after the project is created below. Keeping them in a separate, plain “downloads” folder for now avoids the temptation to drop them straight into the project tree.
Create the Project
Section titled “Create the Project”Open the Editor. The launch screen greets you with a list of recently opened projects and a Create New Project button.
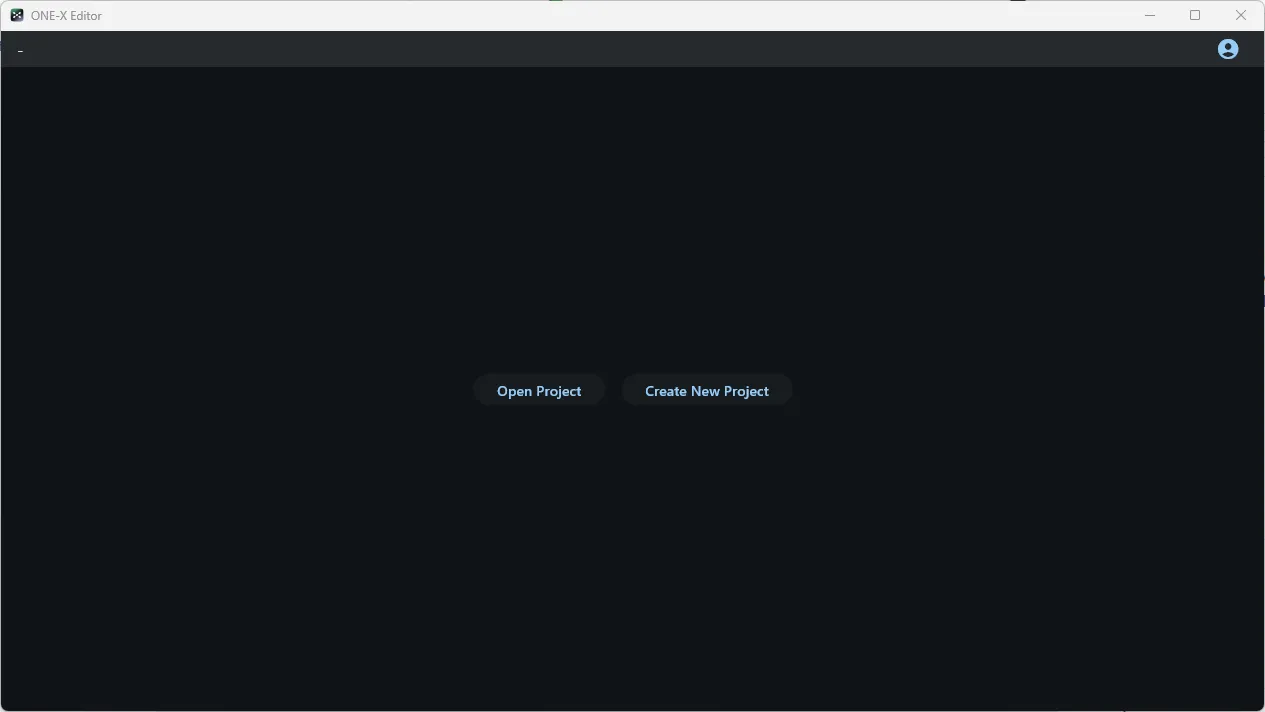
Click Create New Project, then pick a folder and a name in the file dialog.
This walkthrough uses 303-walkthrough, but the name is arbitrary — use
whatever you like.
Once the project is created, the editor launches the standalone plugin automatically and shows the new project’s minimal default structure.
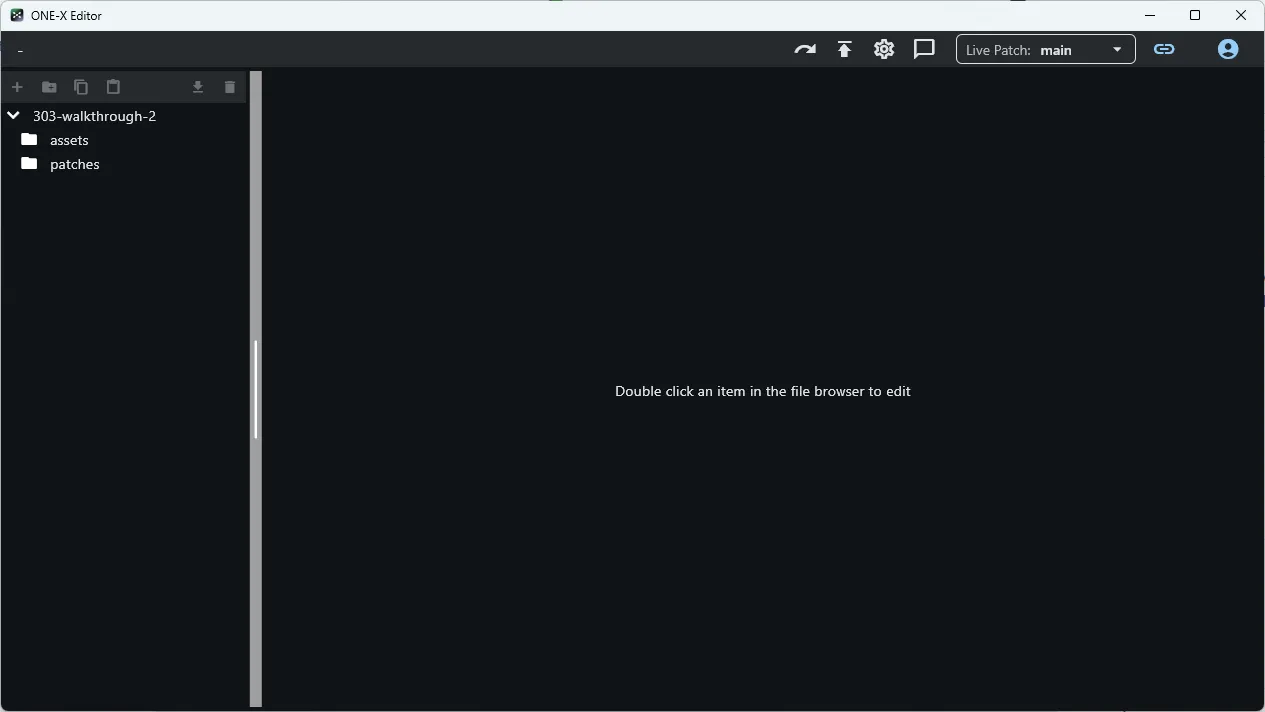
Import the Wavetable
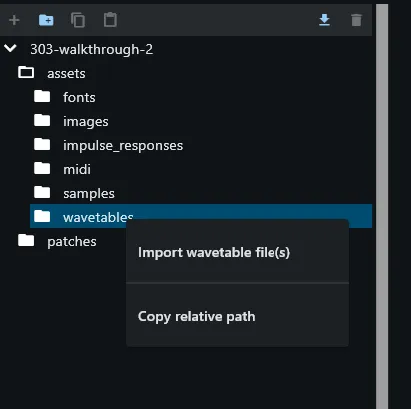
Section titled “Import the Wavetable”Back in the editor, expand the assets folder in the project’s file tree. Right-click wavetables and choose Import wavetable file(s).
In the dialog that opens, click Add wavetable(s).
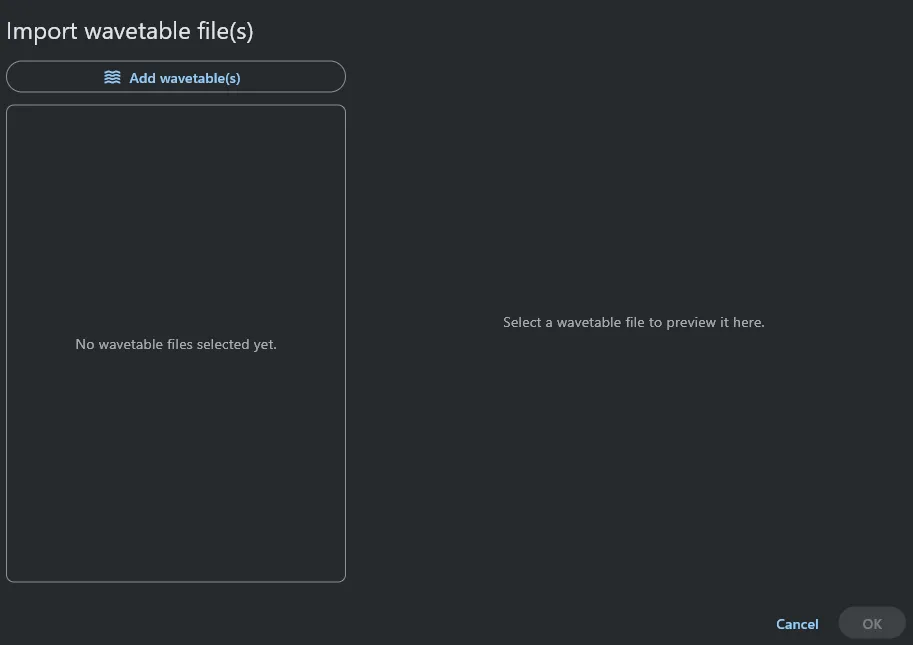
Navigate to the unpacked wavetable folder from the download step, then into
Hyper, and pick Hyper 05.wav. The dialog shows an interactive preview of the
wavetable’s frames.
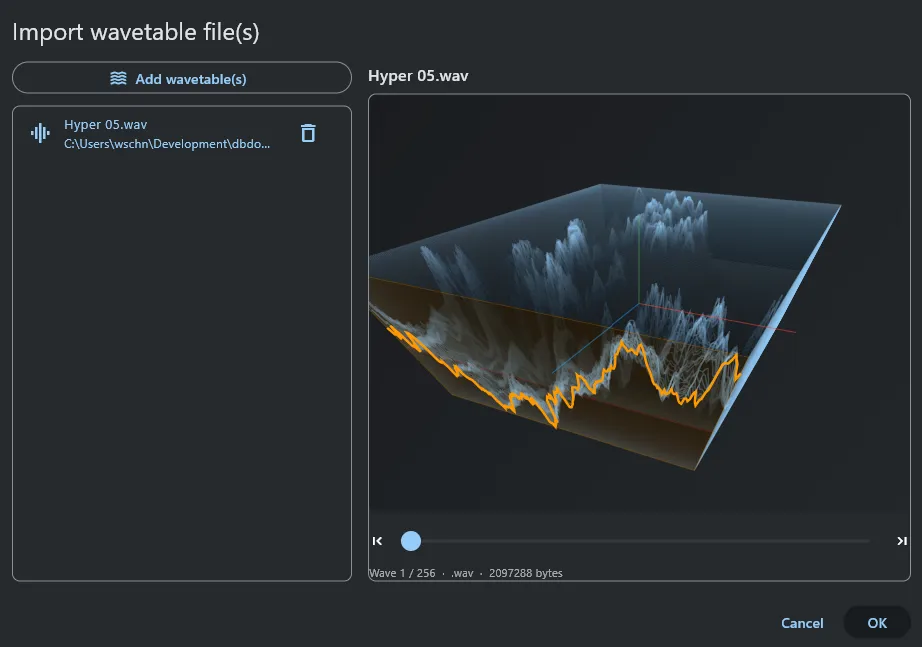
Click OK to finish the import. Hyper 05 is now available as a wavetable
asset inside the project — this is the source the bass voice will play through.
Import the Images
Section titled “Import the Images”In the project file tree, expand assets and right-click the images folder. Choose Import image(s).
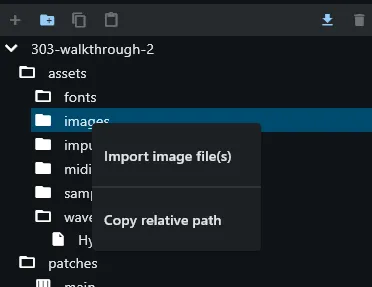
The image import dialog opens.
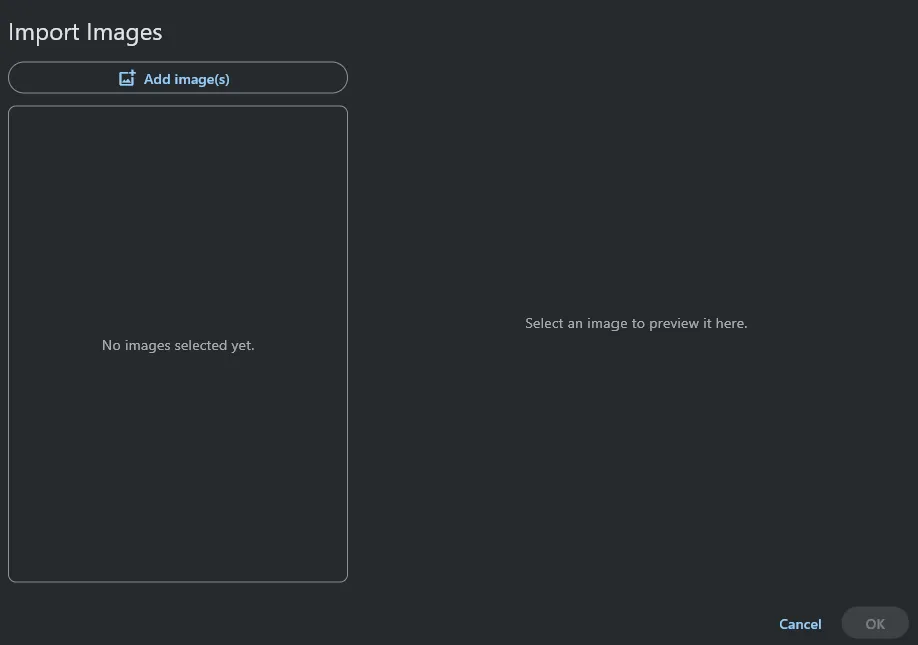
Click Add image(s) and navigate to the unpacked asset bundle. Open the
assets folder — it contains several image files and one font file (.ttf).
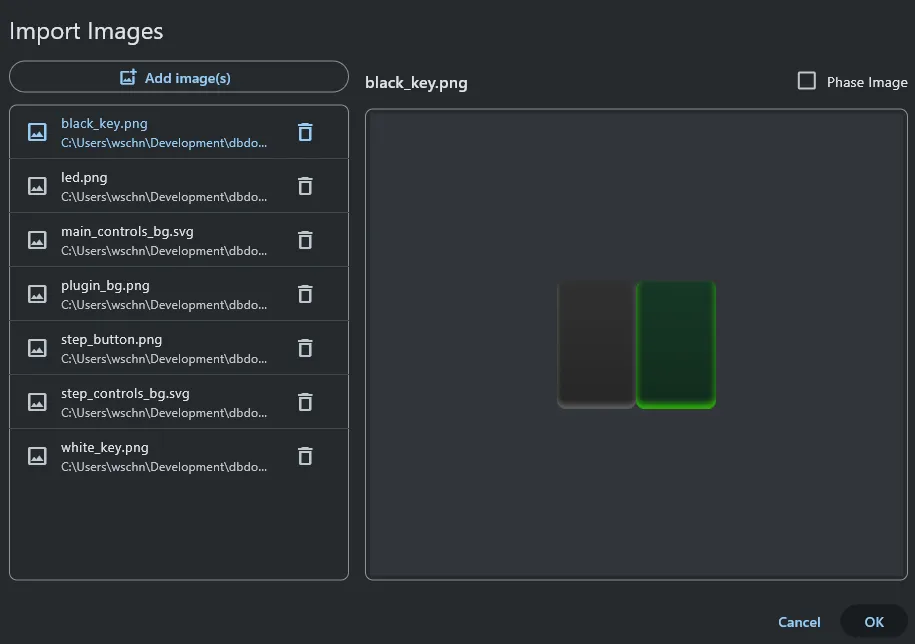
Select all the image files and leave the font file unselected, then confirm the
selection. All selected images appear in the list on the left side of the
dialog.
Note: do not close the dialog yet. Some of the images are filmstrips (phase bitmaps) that need to be configured before importing — covered below.
Configure the Filmstrip Images
Section titled “Configure the Filmstrip Images”Three of the imported images are filmstrips — sequences of animation frames laid
out horizontally in a single file: black_key, white_key, and led. Each
must be marked as a phase bitmap before the import is confirmed, or the editor
will treat them as plain images.
Work through all three in the list. For each one:
1 — Select the file in the list and tick Phase Image.
Click the image name on the left. In the top-right area of the dialog, check the Phase Image box. The preview pane activates and the editor tries to guess the filmstrip layout — it will assume vertical, which is wrong for these files.
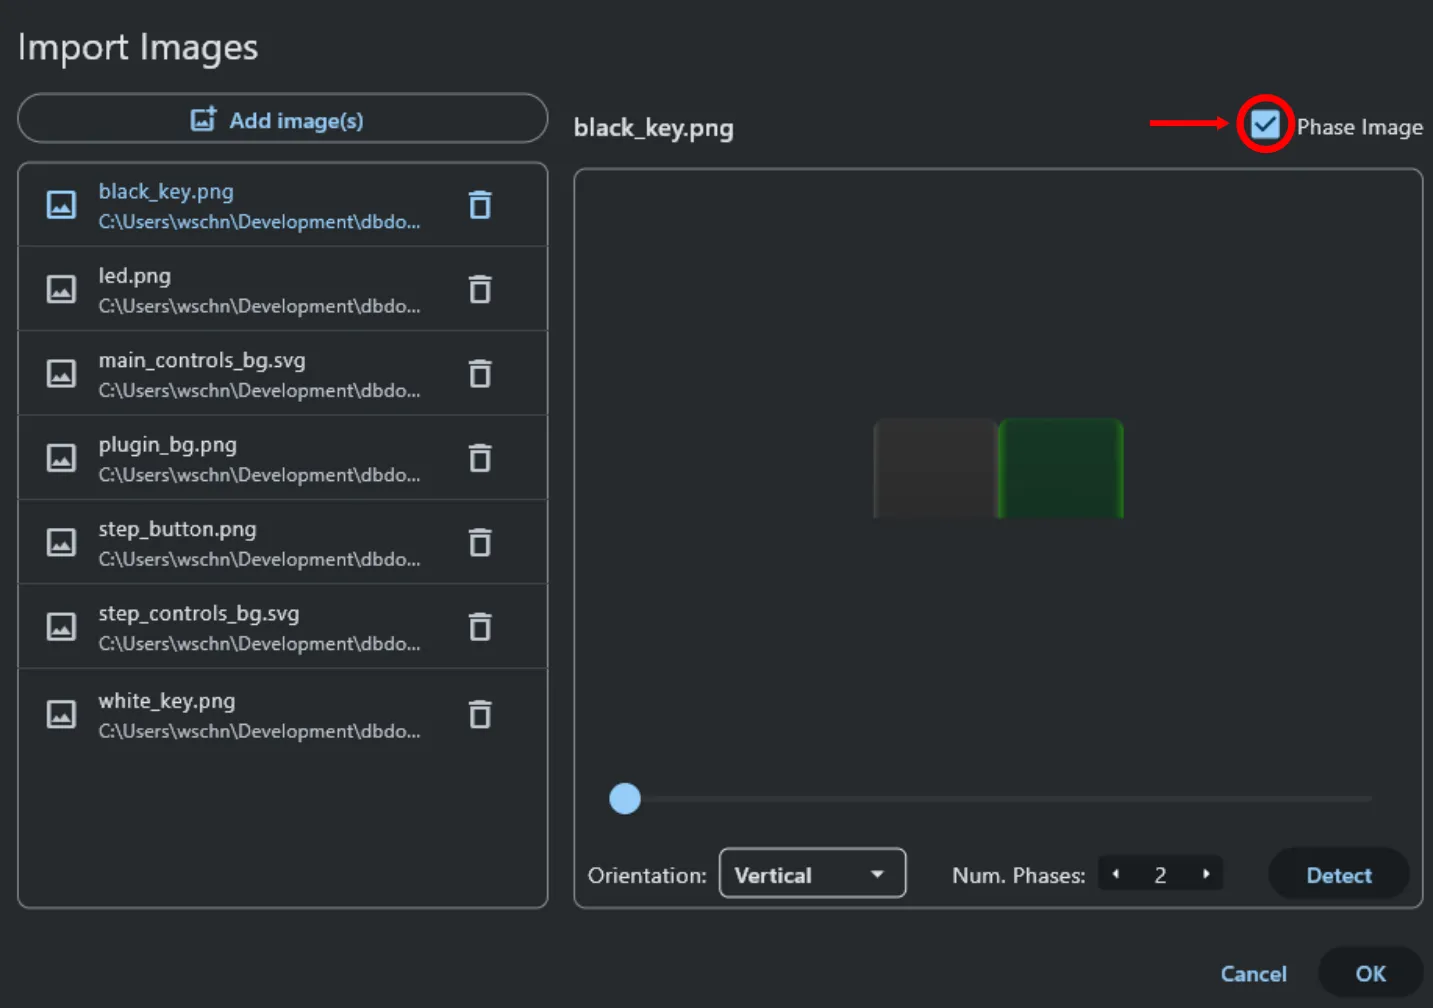
2 — Switch the layout to Horizontal.
In the preview pane controls, change the orientation from Vertical to Horizontal. The preview corrects immediately and the frames line up as expected.
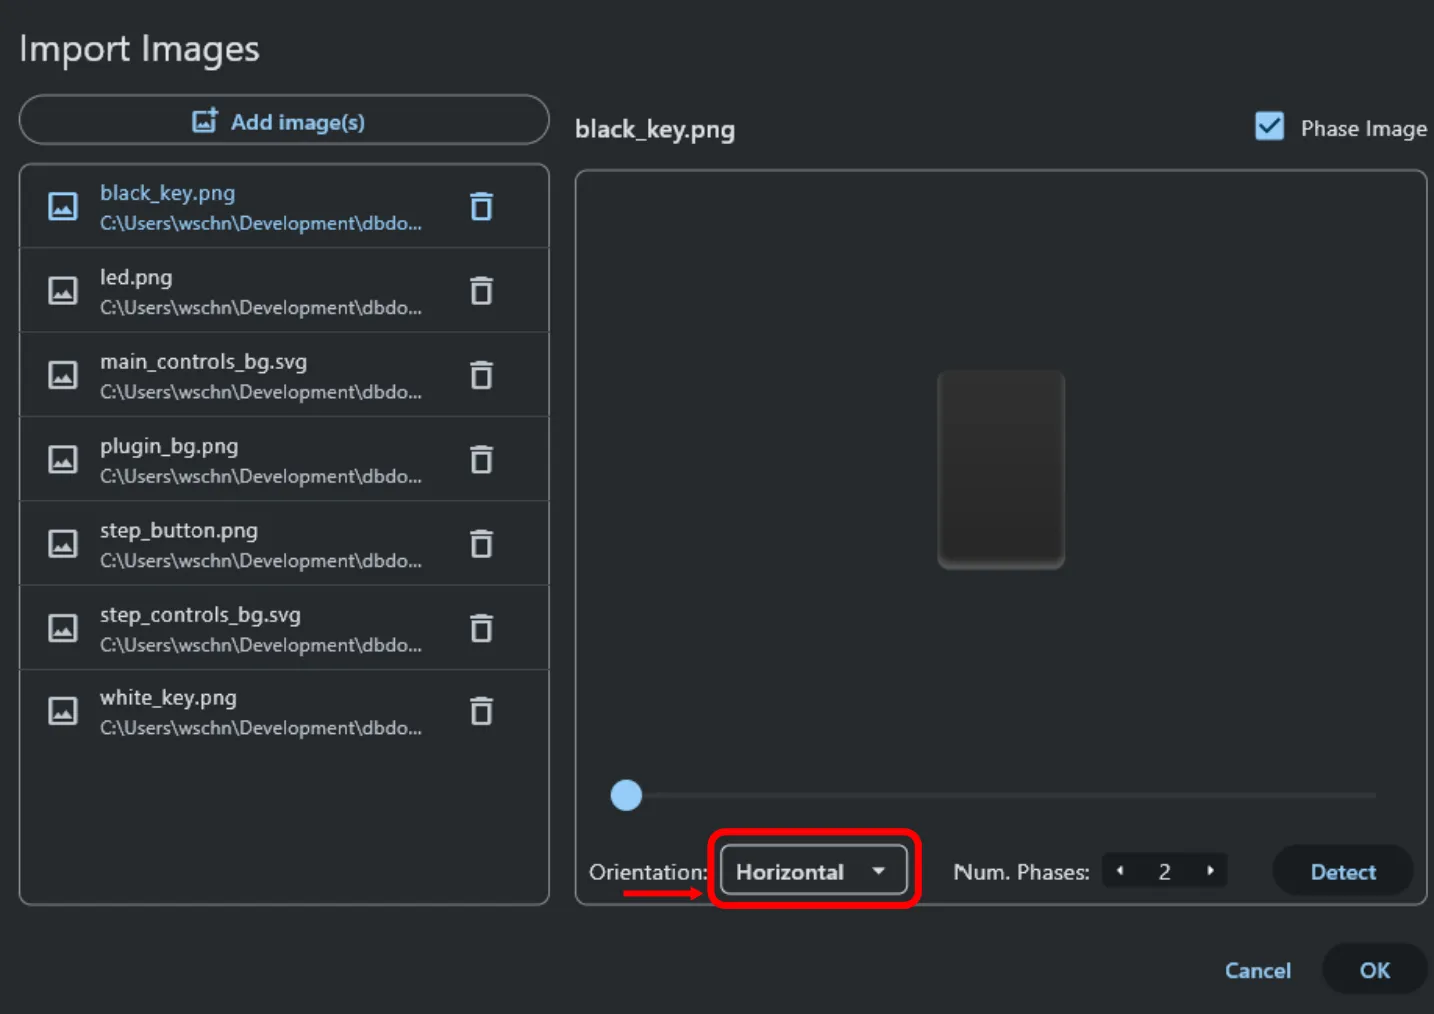
This is sufficient for black_key and white_key — both have 2 phases and the
editor detects that correctly once the orientation is right.
3 — For led only: click Detect.
The led filmstrip has 3 phases, but the editor defaults to 2. After switching
to Horizontal, click Detect to let the editor analyse the image and
determine the correct phase count. The preview updates to show all three frames.
Once all three files have the Phase Image box checked, the correct orientation
set, and the led phase count corrected, click OK to confirm the import.
All images are now available as project assets.
Import the Font
Section titled “Import the Font”In the project file tree, right-click the fonts folder under assets and
choose Import font file(s). The dialog works the same way as the image
import: click Add font file(s), select the .ttf file from the asset
bundle, then click OK. No additional configuration is needed.
Outline
Section titled “Outline”- Licensing/usage note for the bundled custom graphics (if applicable)