Publishing
With the instrument fully built and working, the last step is to package it into a product that the plugin can load. Publishing bundles everything — the patch, all assets, the scripts, and the UI — into a single distributable file.
Publish the Instrument
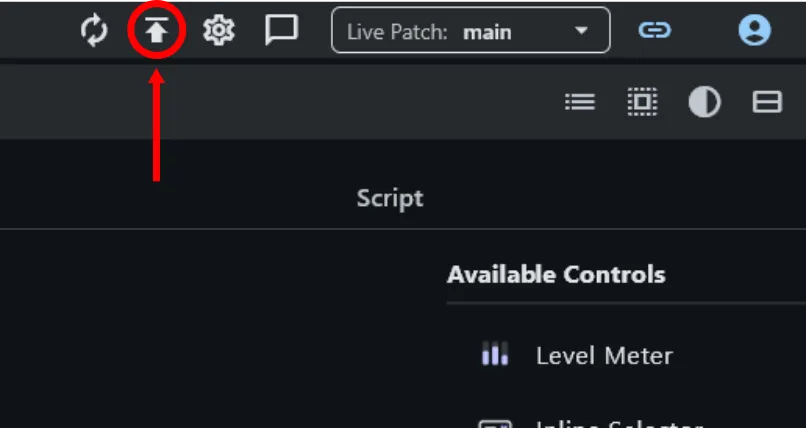
Section titled “Publish the Instrument”Click the Publish icon in the editor’s top toolbar.
A dialog opens asking for the product’s metadata. Fill in the required fields — name, version, and any other details the dialog requests.
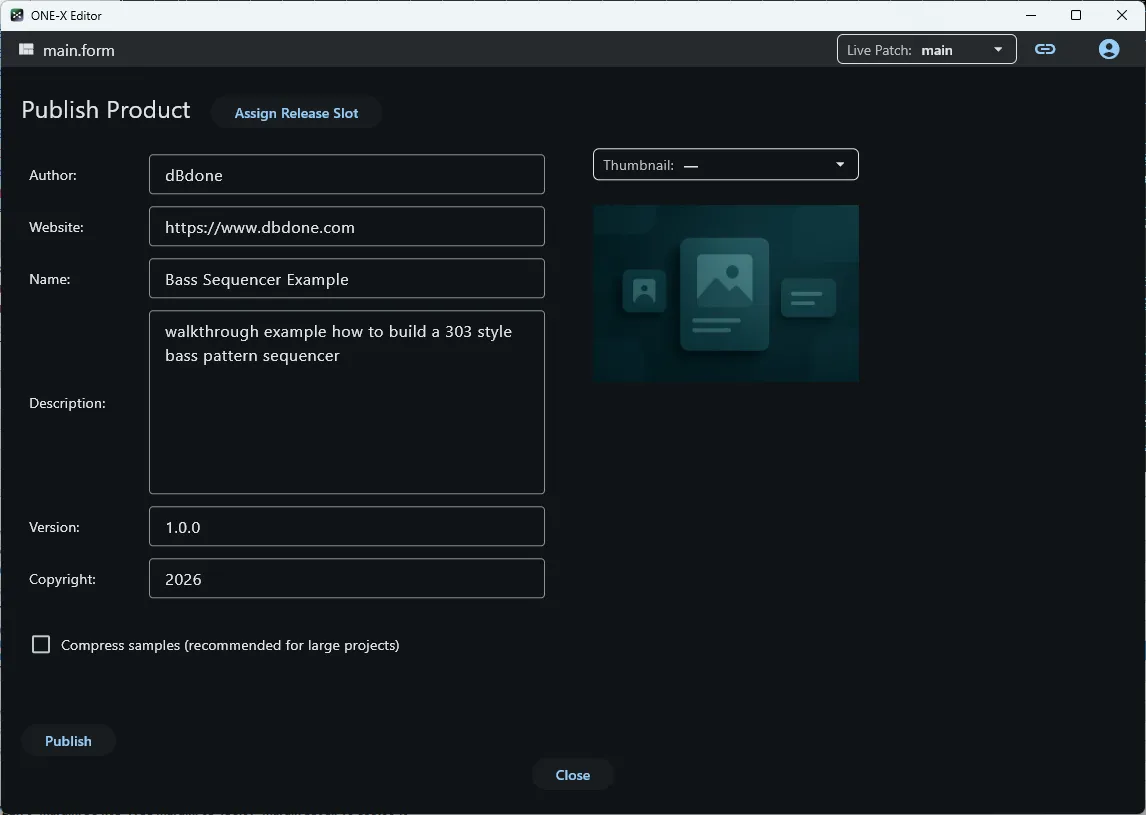
Click Publish. A folder picker appears. Choose a dedicated staging folder
— somewhere outside the plugin’s library folders, such as a Published folder
on your desktop or in the project directory. This keeps the freshly built
product separate until you are ready to install it.
Publishing to a staging folder first is the recommended approach: it lets you inspect the output, move it deliberately, and keep your plugin library clean during iteration.
The editor writes the packaged product into the folder you selected and reports when it is done.
Set Up the Plugin Library
Section titled “Set Up the Plugin Library”Before the plugin can load the product, it needs to know where to look for installed products. Out of the box no library folders are configured — this is a one-time setup step.
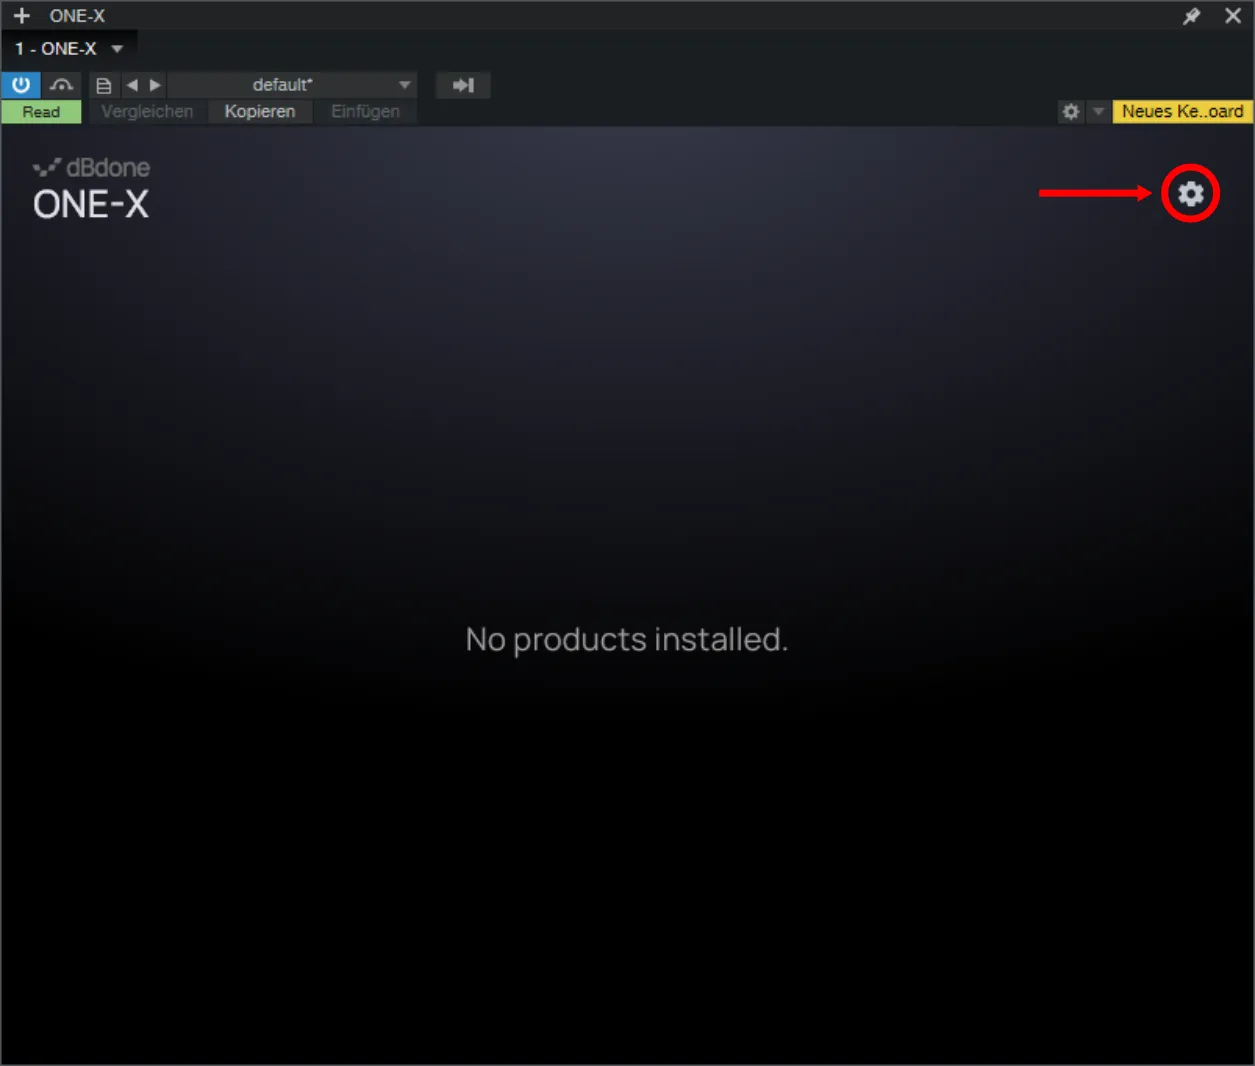
Open the plugin in your DAW, then click the Settings icon.
In the settings panel, add one or more library folders — these are the
directories the plugin will scan for installed products. Choose a permanent
location that makes sense for your workflow, such as a dedicated Instruments
folder on a fast drive.
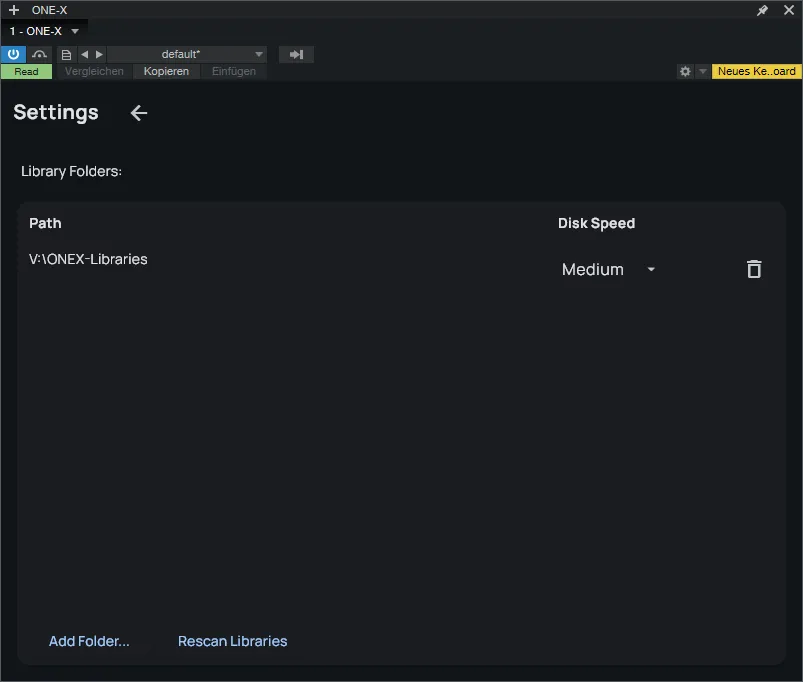
Once a library folder is configured, close the settings panel.
Install the Product
Section titled “Install the Product”The output of the publishing step is a folder with an .oxl extension. This
bundle contains exactly three files that describe the entire product — patch,
assets, and metadata. Copy the .oxl folder from your staging location into
one of the library folders you just configured.
Rescan and Load
Section titled “Rescan and Load”Back in the plugin, open Settings again and click Rescan Libraries at the bottom of the panel.
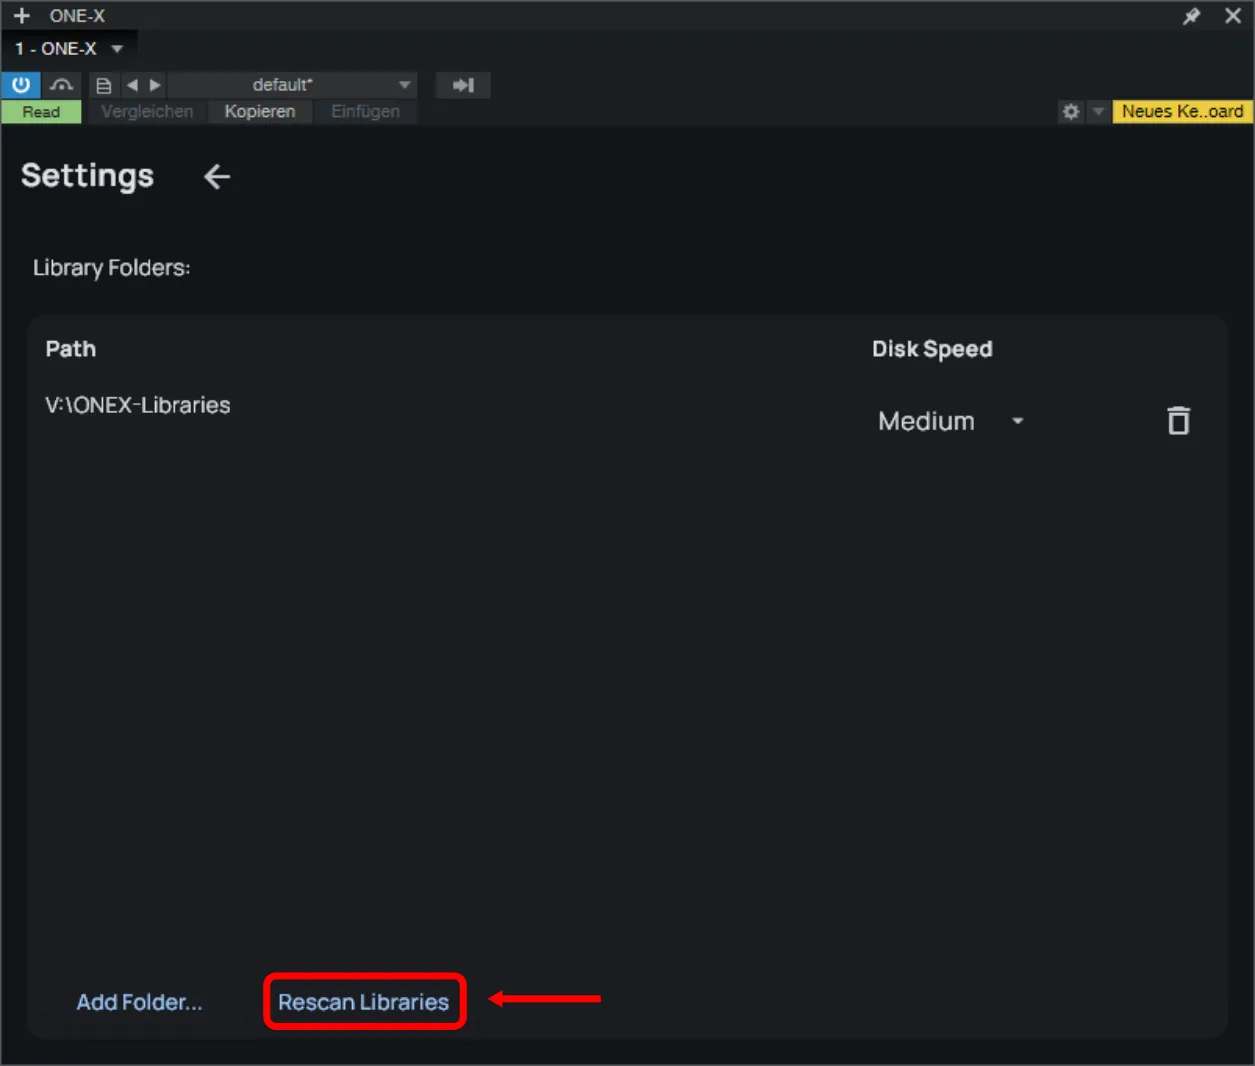
Close the settings panel. The newly installed instrument should now appear in the plugin’s product browser. Double-click it to load it.
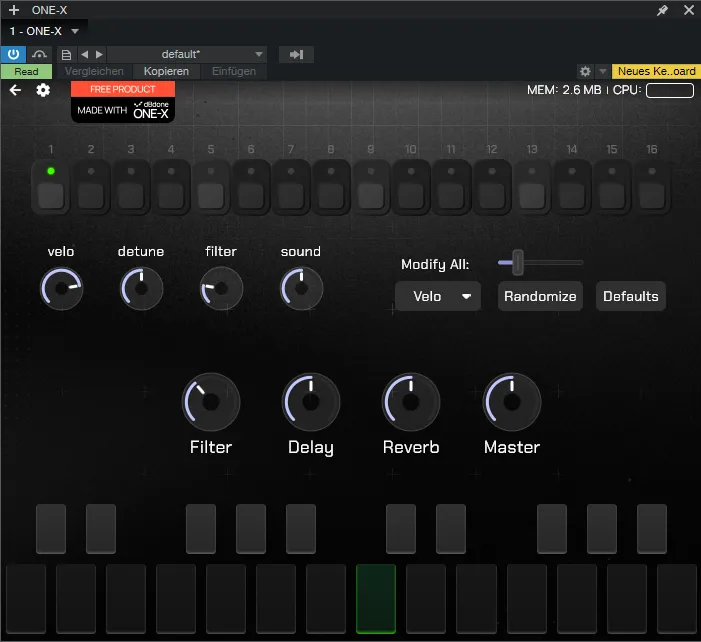
Congratulations — the 303-style bass sequencer is complete and installed.