Sound Design (Pass 1)
Build the Zone Map
Section titled “Build the Zone Map”With the piano samples imported, the next step is mapping all 16 velocity layers onto the keyboard. Done by hand, one sample at a time, this would be extremely tedious — so instead, this walkthrough uses the editor’s built-in AI support to do the mapping.
Prerequisite: AI features require a registered — and possibly subscribed — account. The editor itself is free to use, with no registration required. Without an account, however, AI features are not available: they run against a backend service, which has a real cost attached, so they’re gated behind an account rather than offered for free to anyone.
Once registered (covered in its own piece of documentation — this walkthrough assumes it’s already done), an account gets a limited amount of AI usage at no extra cost. Beyond that initial allowance, continued use requires a subscription, which grants a monthly-refilled quota of token credits.
This walkthrough assumes both prerequisites are in place: the reader has a registered account, and — if its free allowance is already used up — an active subscription. Without at least a registered account, the AI-assisted steps in this chapter cannot be followed as written.
Sign In
Section titled “Sign In”Having an account isn’t quite enough on its own — the editor also needs to know you’re signed in to it. Check the small profile icon button in the upper-right corner of the editor window: it looks different depending on whether you’re signed in.
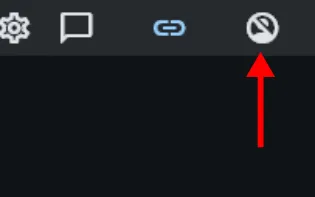
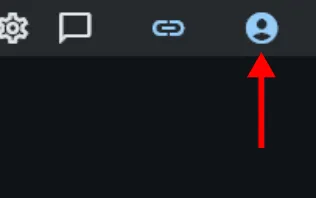
If it shows the signed-out state, click it and sign in before continuing — none of the AI steps below will work otherwise.
Select the Zone Map
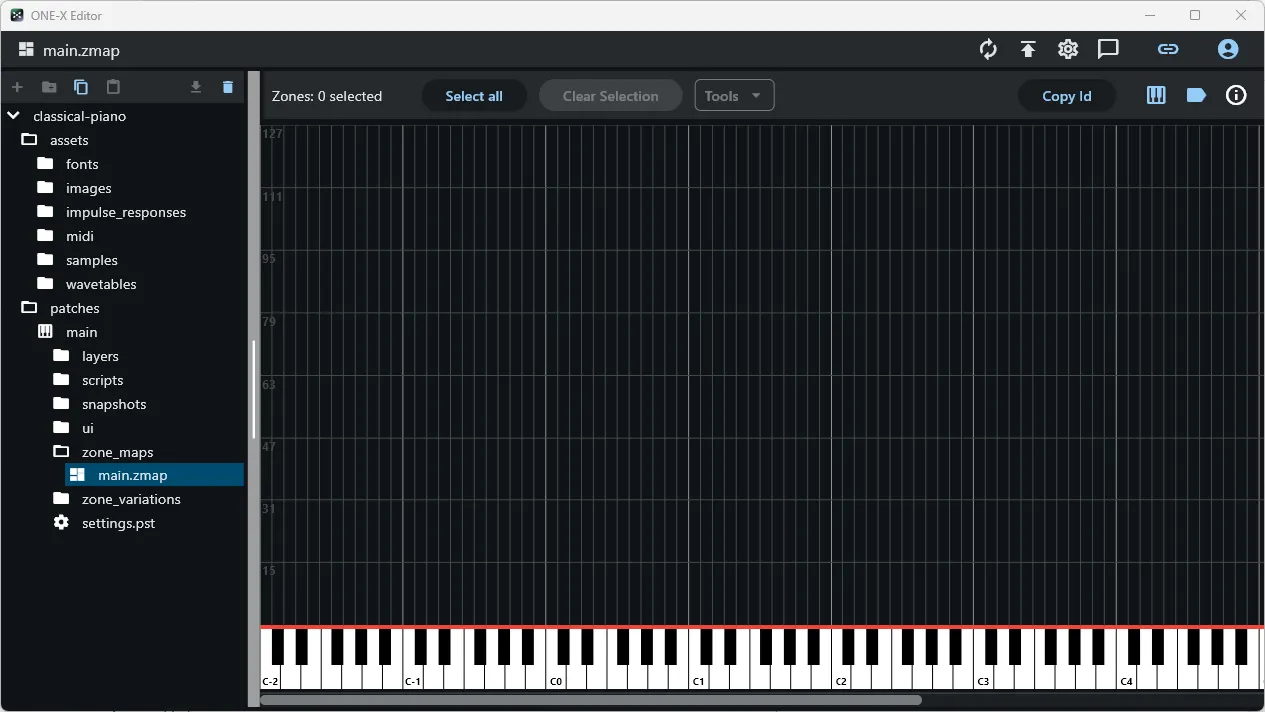
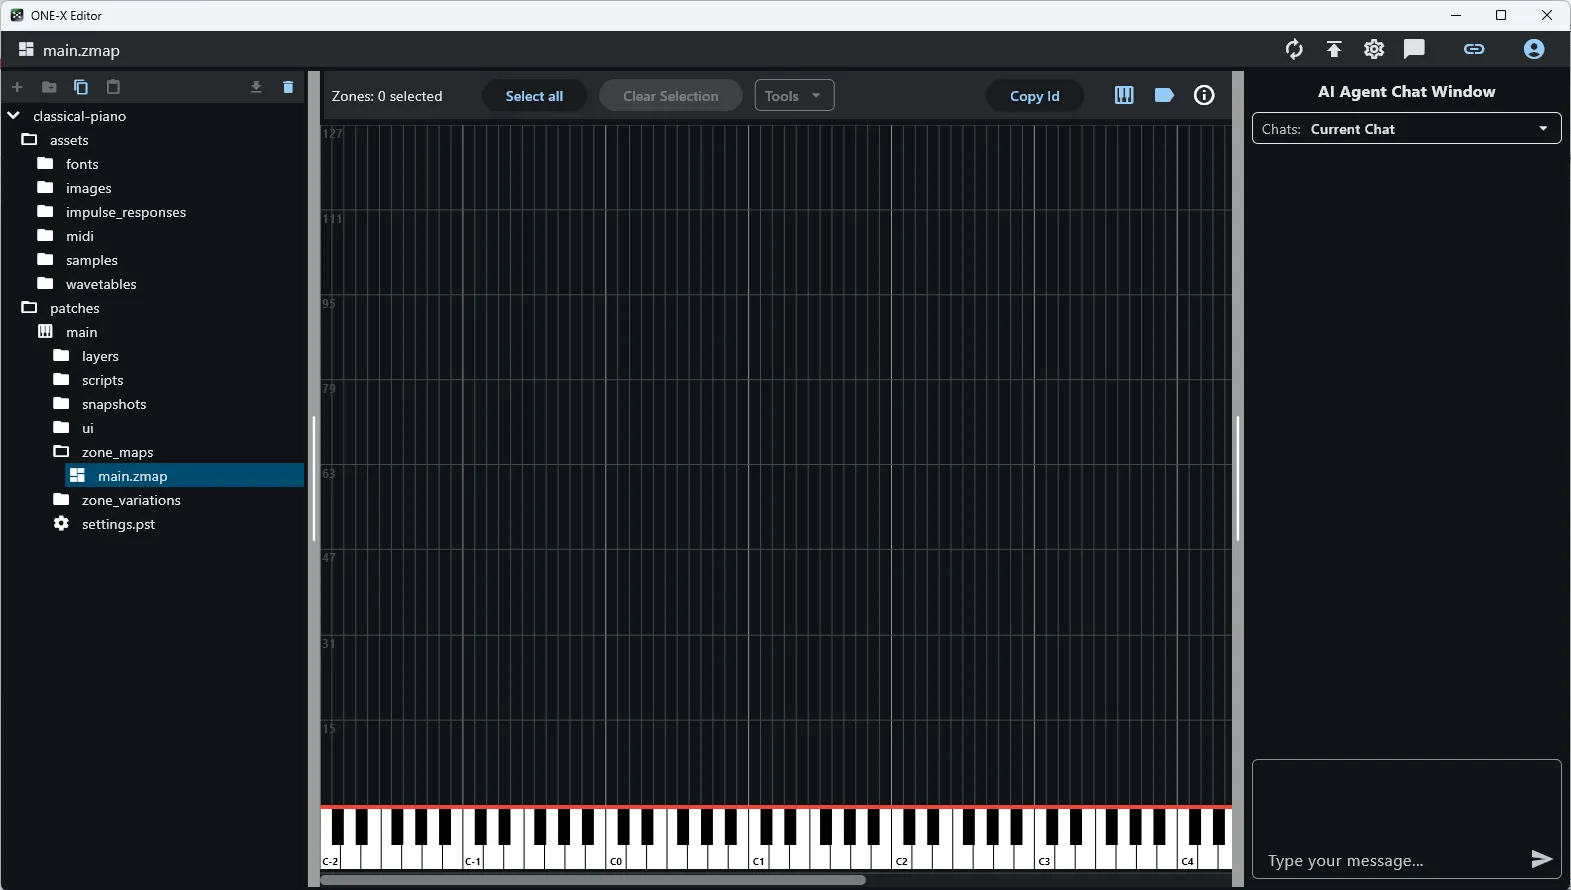
Section titled “Select the Zone Map”In the project file tree, select main.zmap — at this point the project’s only
zone map, created automatically along with the project.
Open the AI Chat Panel
Section titled “Open the AI Chat Panel”Click the AI chat icon button in the top right of the editor window.
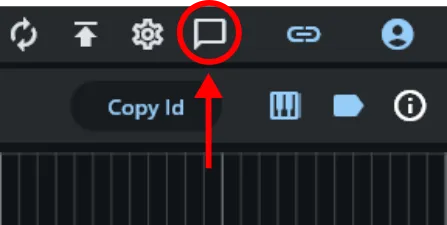
The chat panel slides open on the right side of the editor.
Ask the AI to Map the Samples
Section titled “Ask the AI to Map the Samples”With main.zmap still selected, type the following into the chat input and
click the submit icon:
map my piano samples

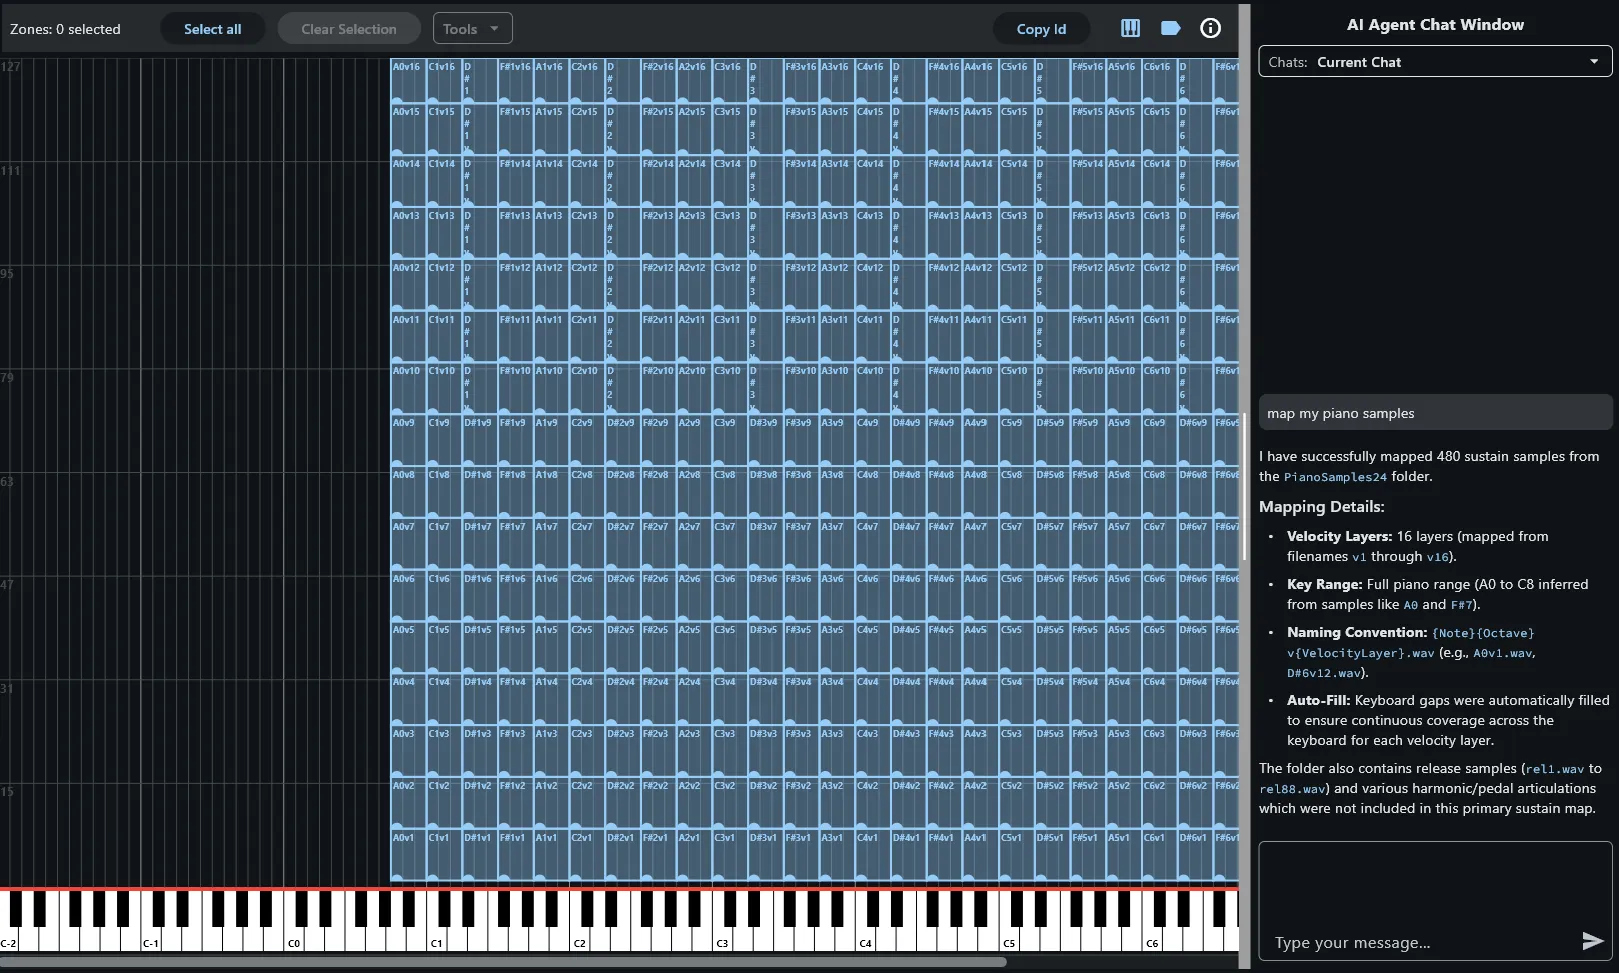
What happens next can vary. In the best case, the AI understands the request immediately and the finished mapping — all 16 velocity layers, correctly spread across the keyboard — appears in the zone map a short while later. “Short” can mean anywhere from a few seconds to a minute or two, depending on network conditions and backend load.
Why the AI might ask follow-up questions. The
samplesfolder imported in the previous chapter doesn’t only contain the sustain samples this mapping needs — it also contains the damper-noise and pedal-noise samples that get used later, in Sound Design (Pass 2). Those must be deliberately excluded from this mapping. The AI usually figures this out on its own, but not always — it may ask for confirmation about which samples to use, or how to distribute the velocity layers across the keyboard. If it does, answering its question(s) is normally enough to get to a correct mapping within one or two replies.
Once the mapping looks right, click the AI chat icon button again to close the panel and get the full editor width back.
Why the Zone Map Needs Normalizing
Section titled “Why the Zone Map Needs Normalizing”The recorded velocity layers exist because a real piano sounds different when struck softly versus hard — not just quieter, but different in tone and character. That’s exactly why they were mapped one-to-one onto MIDI velocity in the first place. The problem is that “softly versus hard” also means the raw recordings are, quite literally, quieter and louder — actual volume differences are baked into the samples.
That’s a problem in this instrument’s design, because volume is meant to be controlled entirely by MIDI velocity, through a velocity modulator added later in this chapter. If the raw samples are also getting quieter and louder on their own, the two effects stack: velocity would be affecting loudness twice, once through the modulator and once through the recording itself, on top of correctly bringing out the tonal differences between the layers.
The fix is to normalize the recorded volume differences out of the zone map, while leaving the tonal differences between layers untouched. This happens entirely non-destructively — the underlying WAV files are never modified. Each zone stores a relative gain property, and normalizing simply adjusts that property per zone.
Inspect a Single Zone
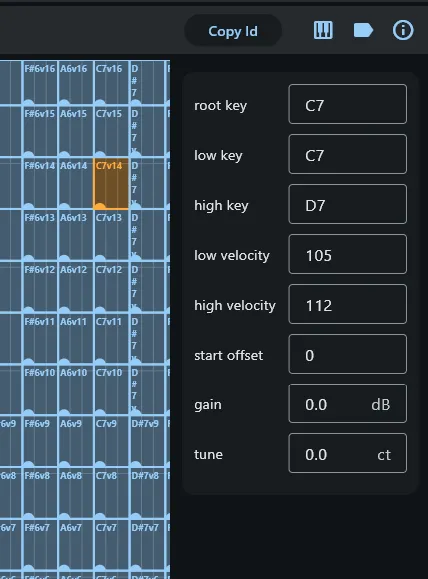
Section titled “Inspect a Single Zone”Click a single zone in the zone map to select it — it changes color from blue to orange, marking it as the current selection.
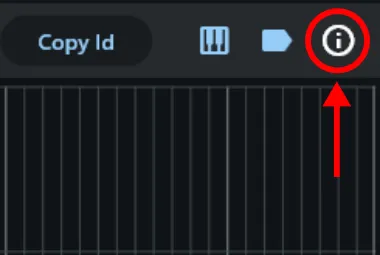
Open the zone inspector side panel via the tool button in the top right of the zone map editor.
The panel opens on the right, showing every property of the selected zone, including its relative gain — the property normalization is about to adjust.
Normalize the Volume
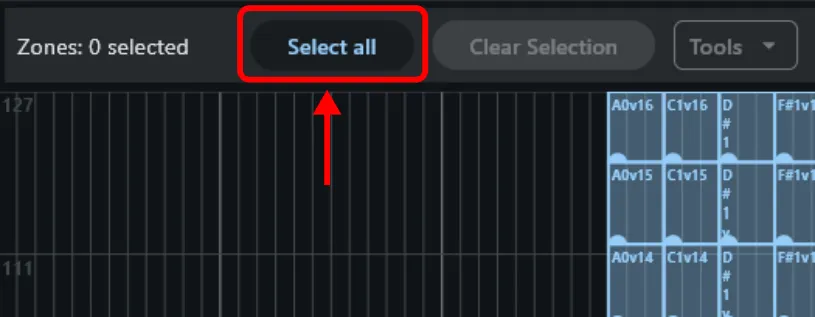
Section titled “Normalize the Volume”Select every zone in the map using the select-all tool button above the zone map. All zones turn orange once selected.
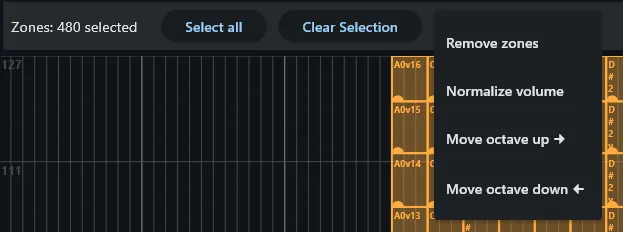
With everything selected, open the Tools menu and choose Normalize volume.
A dialog opens with the normalization settings.
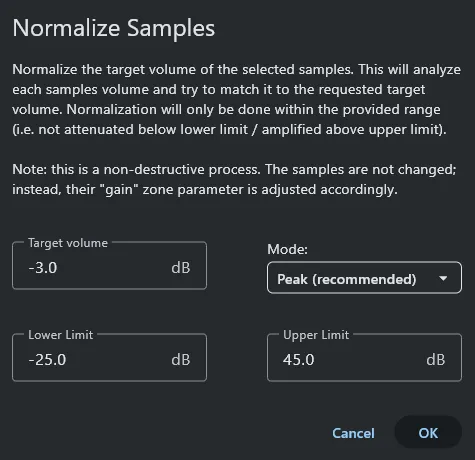
The defaults are fine as-is — the one setting that matters is the mode. Pick Peak, not RMS.
Why Peak, not RMS? RMS normalization measures a sample’s average energy, which suits sustained, tonal material well. Piano samples are inherently percussive: a sharp transient attack followed by a long decay. Perceived loudness of that kind of material is dominated by the attack, not the average level across the whole sample — so RMS normalization would get it wrong, chasing an average that doesn’t match how loud the note actually sounds. Peak normalization targets the transient directly and gets it right.
Confirm the dialog to normalize every selected zone in one pass.
Verify the Result
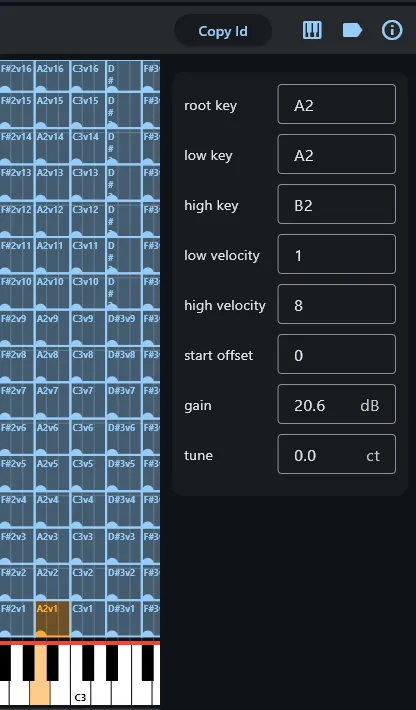
Section titled “Verify the Result”Select the individual velocity zones for a single note and check their relative gain in the inspector — the soft layers should have picked up a noticeably larger boost than the hard ones, since they started out much quieter. On A2, for example, the softest layer ends up normalized to roughly +20.6 dB, while the loudest layer only needed about +1.5 dB.
Open the Layer Editor
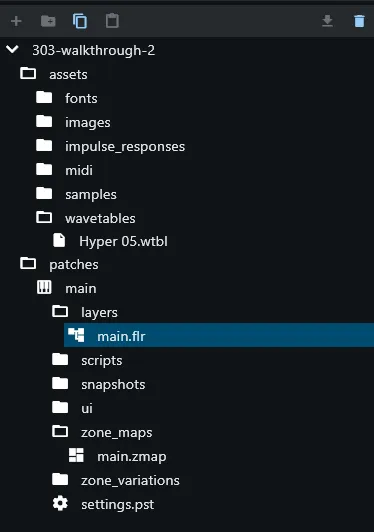
Section titled “Open the Layer Editor”Expand patches -> main -> layers in the file tree and double-click main.flr
to open the layer editor. It starts out as a minimal default layer — just the
source, nothing else.
Insert an Amp
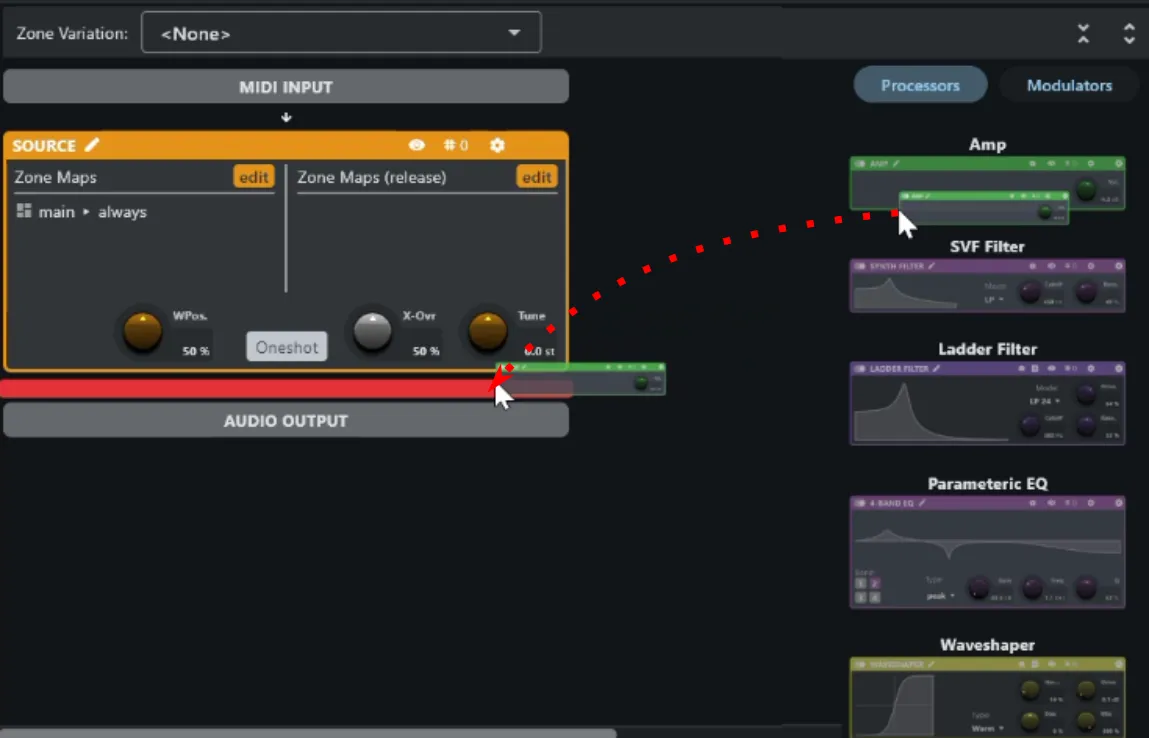
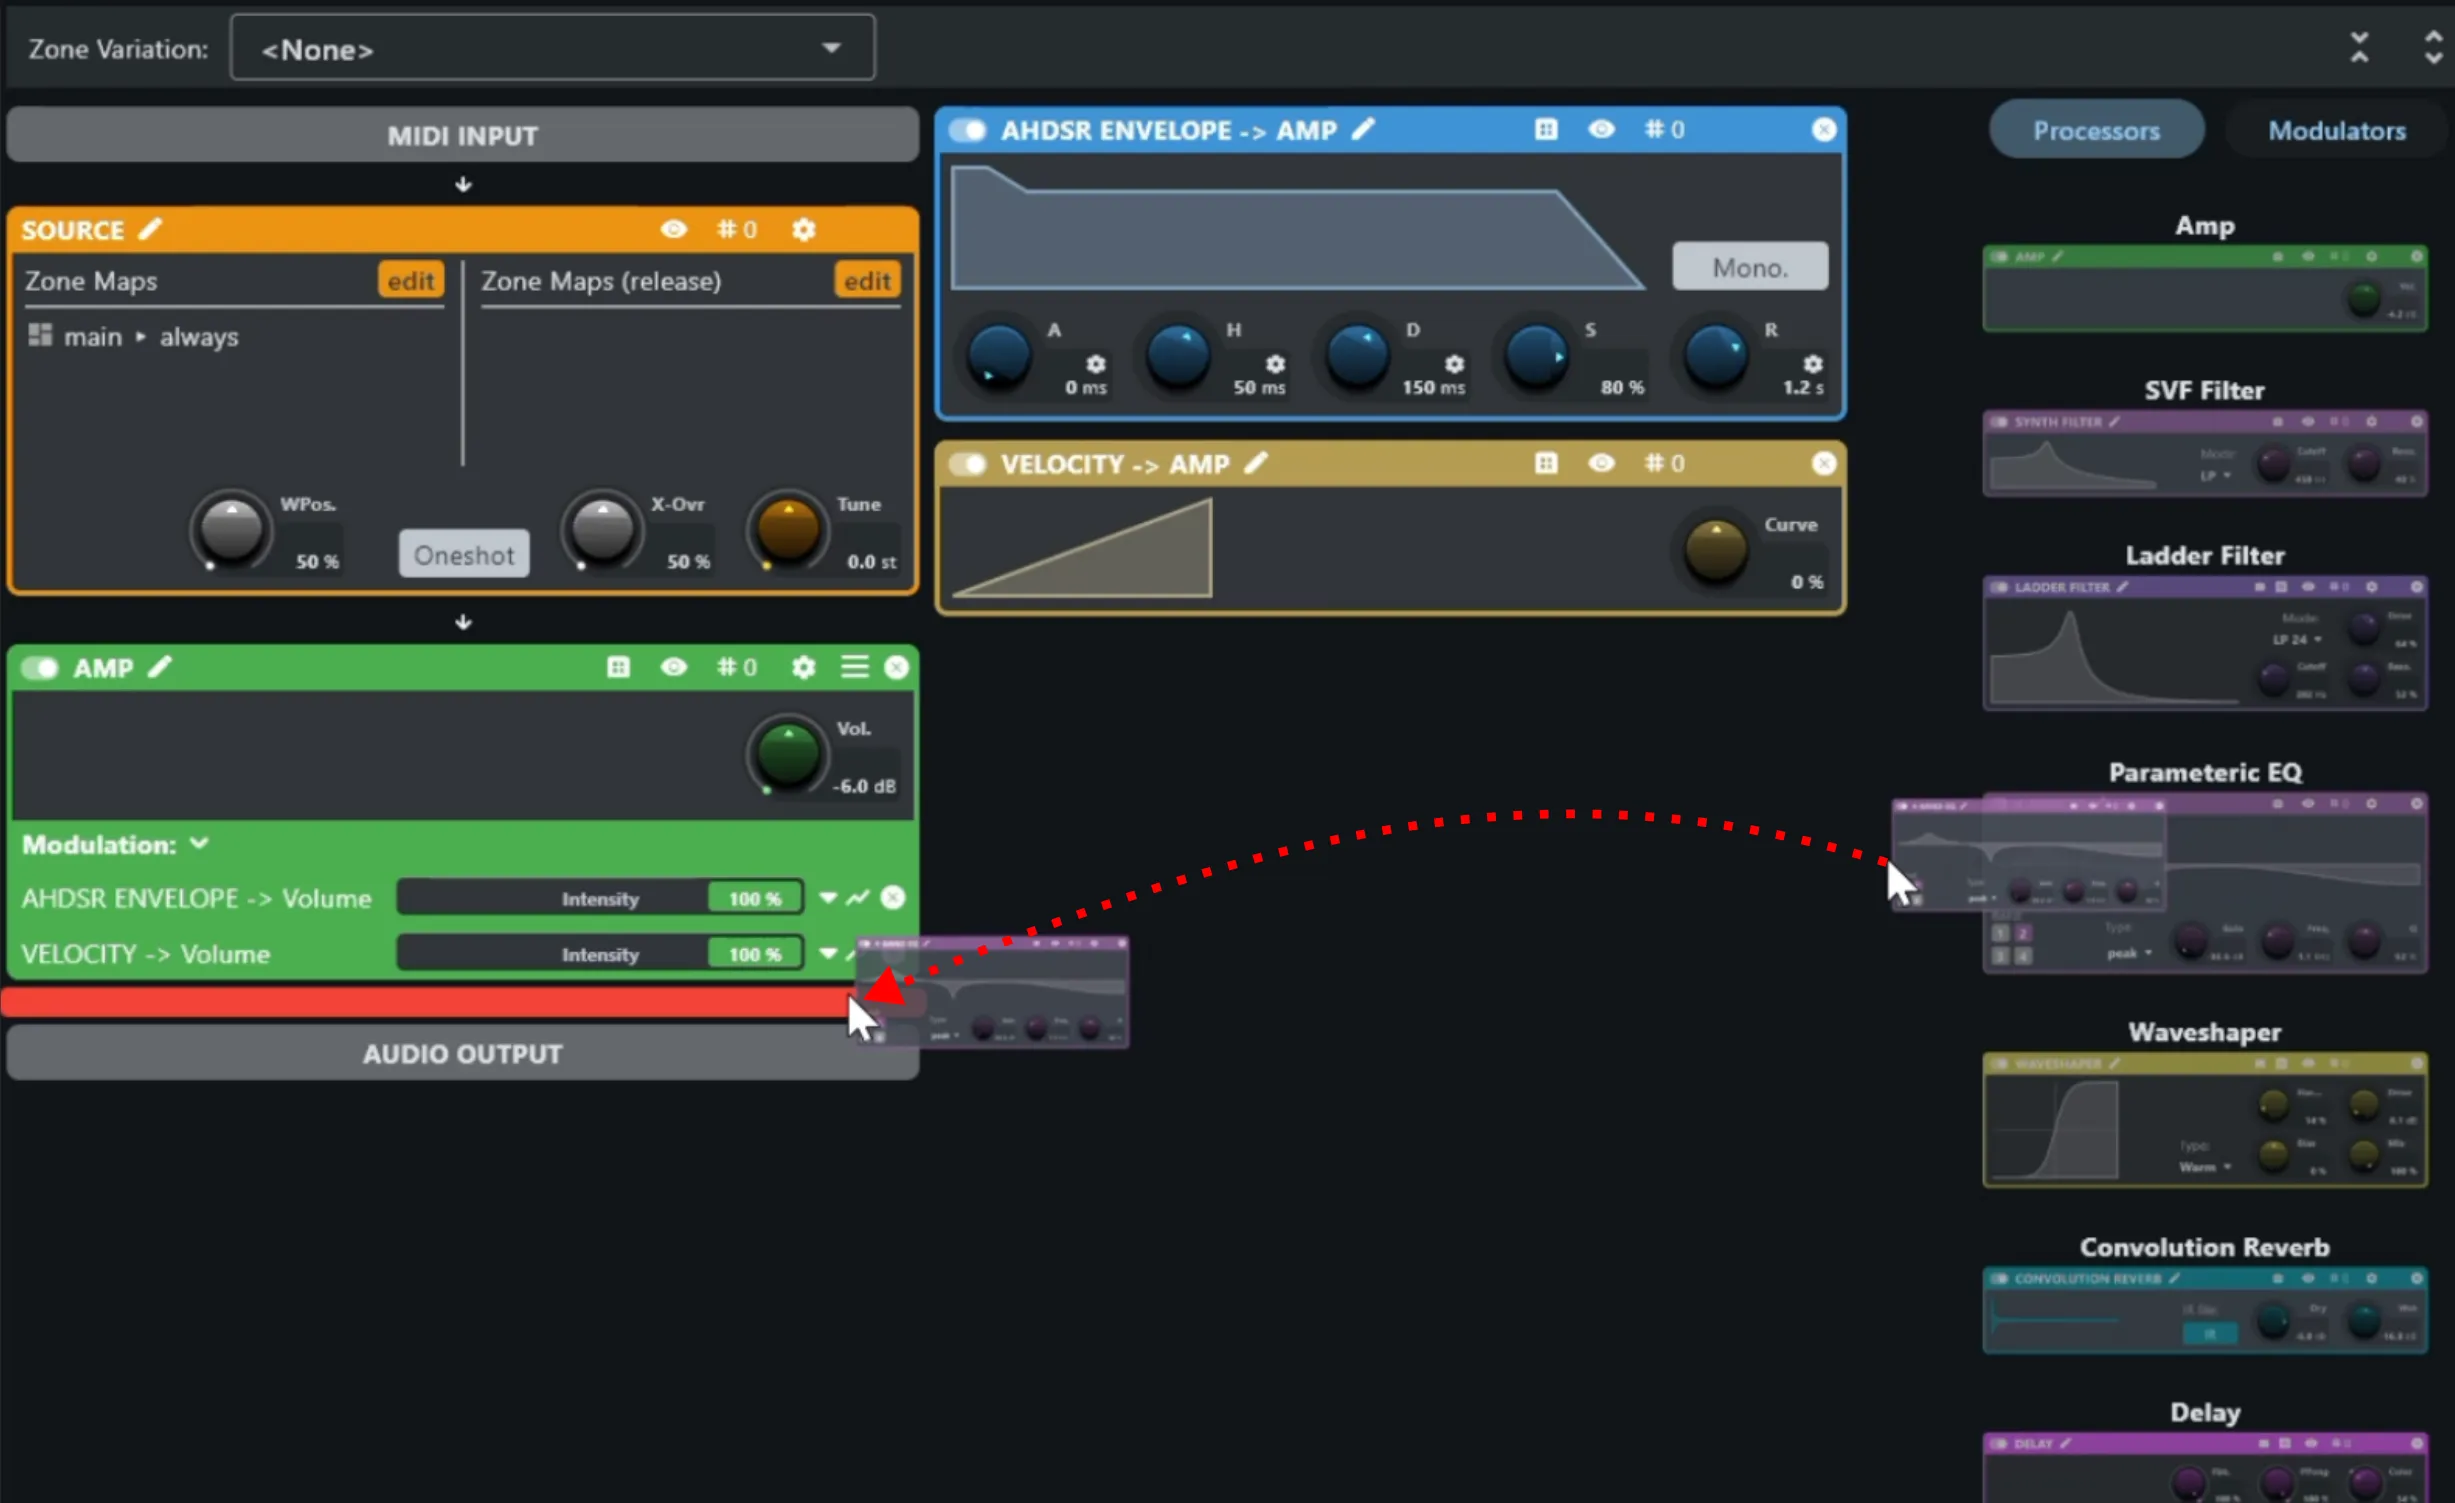
Section titled “Insert an Amp”Drag an Amp processor from the processor list on the right and drop it directly below the source processor in the chain.
Modulate Amp Volume with an Envelope
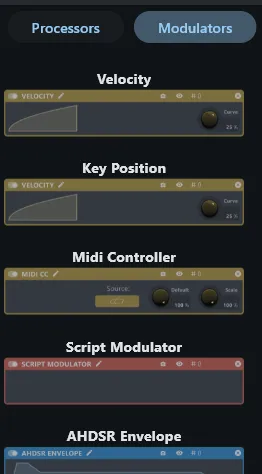
Section titled “Modulate Amp Volume with an Envelope”Switch to the Modulators tab in the processor list.
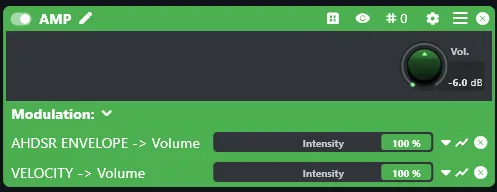
Drag an AHDSR Envelope onto the amp’s Vol. knob.
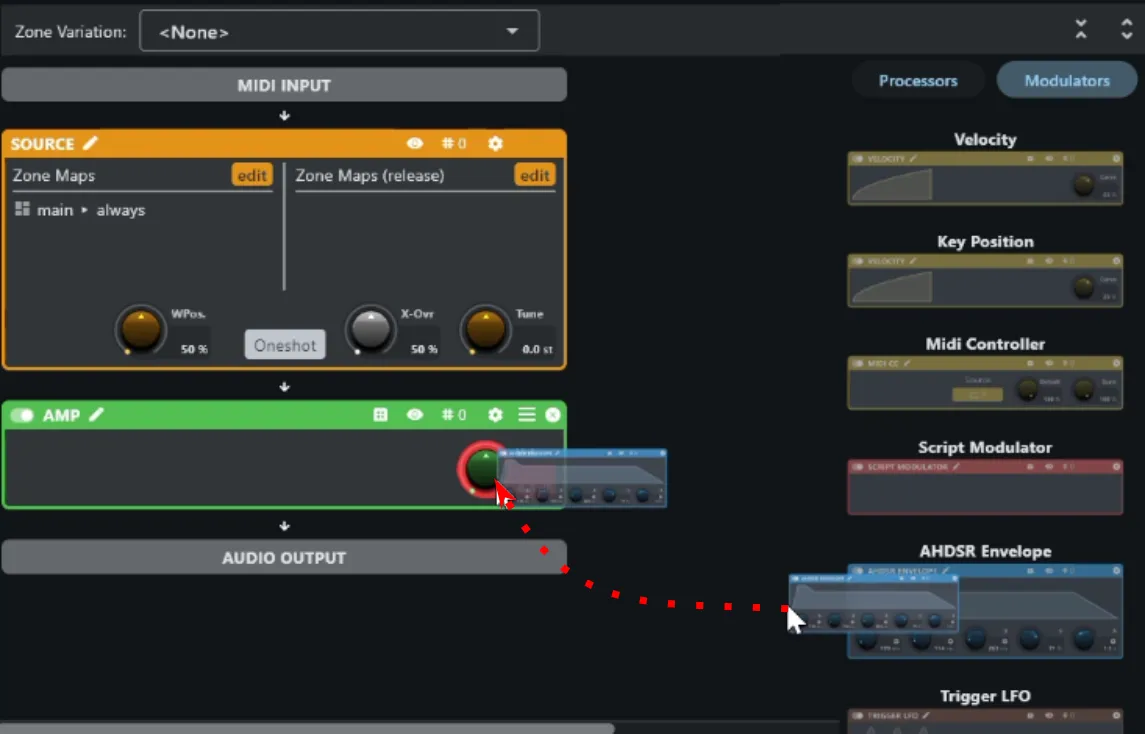
Then drag a Velocity modulator onto the same Vol. knob.
Together these two modulators shape the amplitude: the envelope controls the attack and release contour of each note, while velocity scales the overall level so harder-played notes sound louder — exactly the behaviour the normalization pass earlier in this chapter was clearing the way for. With the recorded volume differences evened out, velocity is now the only thing controlling loudness.
Apply the Envelope Preset
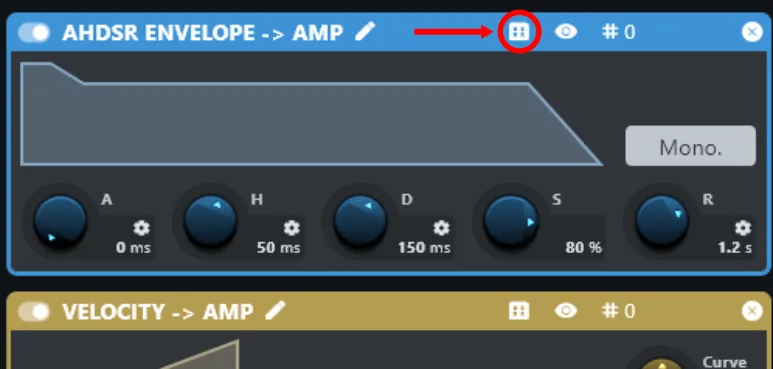
Section titled “Apply the Envelope Preset”Rather than dialing in the envelope’s stages by hand, this walkthrough ships a ready-made preset in the custom asset bundle from Gathering Assets. Open the envelope’s preset dialog.
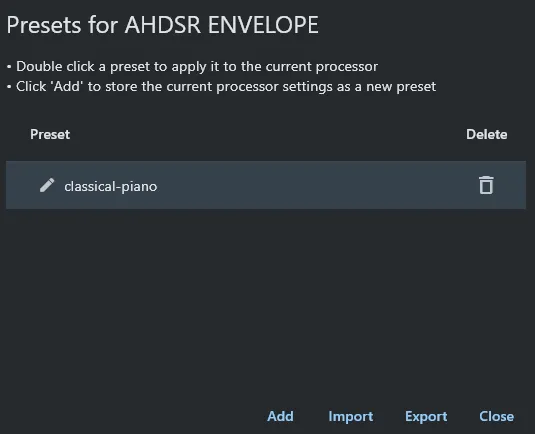
Click Import and pick the matching preset file from the unpacked asset bundle. Double-click the newly imported preset in the dialog to apply it — this also closes the dialog.
Apply the Velocity Preset
Section titled “Apply the Velocity Preset”The velocity modulator ships with a ready-made preset too, from the same asset bundle. Apply it the same way as the envelope preset above: open the velocity modulator’s preset dialog, click Import and pick the matching preset file, then double-click it to apply.
What We’re Building: One Instrument, Several Models
Section titled “What We’re Building: One Instrument, Several Models”Before going further, it’s worth being explicit about where this sound design is headed. The goal is a piano with only a handful of user-facing controls, but which can switch between a few distinct overall characters — different models. In this platform, that’s implemented with snapshots: a snapshot captures a specific set of parameter values across the patch, and recalling it applies all of those values at once. The practical consequence for sound design is that the processors doing the shaping get built now, in a neutral, general-purpose state; a later pass turns their parameters into a set of named snapshots, one per model.
This being an educational project, the model list stays short. Four models are planned:
- Standard — the baseline piano, with no additional sound shaping beyond what’s already been built in this chapter.
- Bright — the same signal chain, with an EQ curve that lifts the top end.
- Mellow — the same chain again, with a different EQ curve going the other direction.
- Honky — a honky-tonk / bar-piano character, achieved with detuning at the zone-map level rather than with EQ.
Separately from the four models, there’s also a global reverb, shared across all of them, built around an impulse-response (IR) sample rather than an algorithmic reverb.
Honky-tonk is built first, while the zone map is still simple — it needs a second, detuned zone map rather than just another processor, so it’s easiest to set up before the rest of the shaping processors add more to keep track of.
Duplicate the Zone Map for Honky-Tonk
Section titled “Duplicate the Zone Map for Honky-Tonk”A real honky-tonk piano gets its characteristic wavering, slightly-out-of-tune sound from multiple strings per note that aren’t quite in tune with each other. The equivalent here is a second, fully detuned copy of the zone map, layered underneath the original — when both play together, the same note sounds from two sources a fraction of a semitone apart, producing the same beating effect.
Right-click patches -> main -> zone_maps -> main.zmap in the file tree and
choose Copy “main.zmap”.
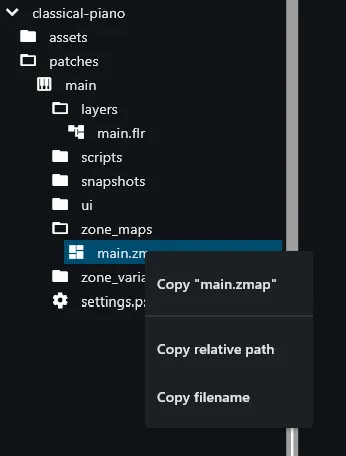
Right-click the zone_maps folder itself and choose Paste here.
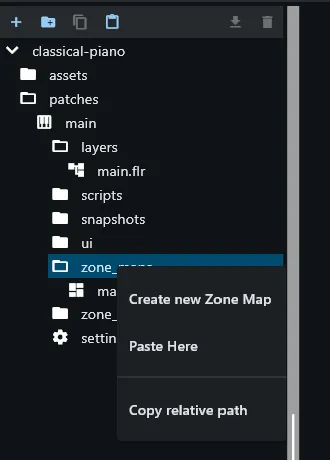
A new file appears; give it a name — this walkthrough uses honky.zmap.
Detune the Copy
Section titled “Detune the Copy”Double-click honky.zmap to open it, then select all zones the same way as
during normalization earlier in this chapter.
With multiple zones selected, open the zone property inspector panel again. Most fields now show an asterisk instead of a value — this indicates the selected zones don’t all share the same value for that property.
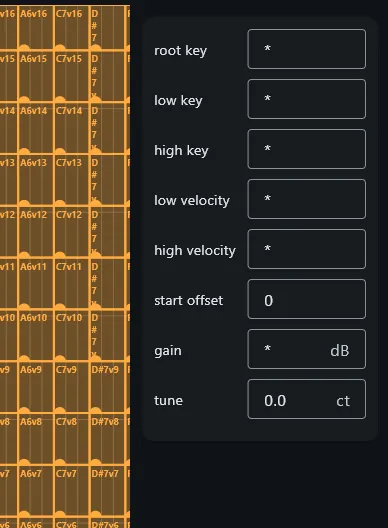
The Tune property is the exception: it still shows 0.0, because every zone
in a freshly copied map starts out with zero relative detune.
Set Tune to 25 cent — type 25 into the field and press Enter. Every
selected zone is detuned by +25 cents at once.
Add the Honky Zone Map to the Source
Section titled “Add the Honky Zone Map to the Source”Detuning the copy doesn’t do anything on its own — the source processor also
needs to know to play both zone maps. Back in main.flr, click the Edit
button on the source processor.
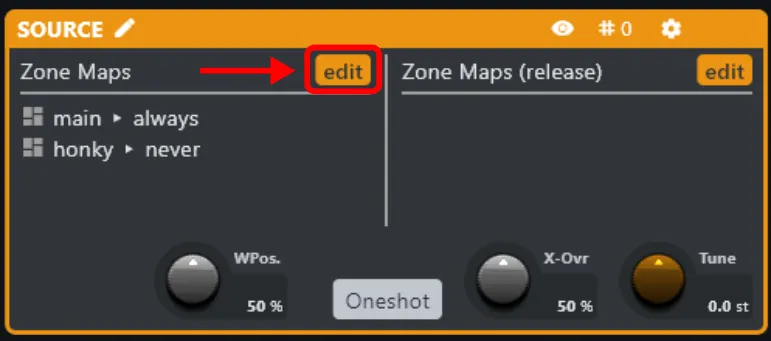
A dialog opens listing the zone map(s) the source triggers. Click Add… and
select the newly created honky.zmap.
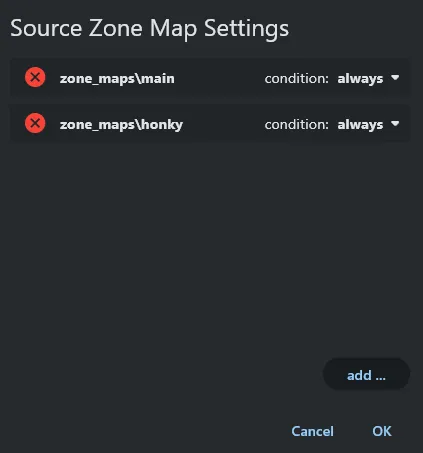
Click OK to confirm. Playing on the keyboard now clearly sounds like a
honky-tonk bar piano — main.zmap and honky.zmap are both sounding on every
note, a semitone-fraction apart.
Disable Honky-Tonk for Now
Section titled “Disable Honky-Tonk for Now”The detuned zone map should only be active when the honky model is actually
selected — not all the time, and not while the other three models are being
built. Open the source processor’s zone map dialog again (same Edit button
as above) and change honky.zmap’s trigger condition from Always to
Never, then click OK.
The piano is back to its normal, single-zone-map sound — but the honky-tonk layer is in place, ready to be switched back on for its own model later, when snapshots are built.
Add an EQ
Section titled “Add an EQ”Back in main.flr, drag an EQ processor onto the layer, directly below the
amp built earlier in this chapter. This is the processor the Bright and Mellow
models will shape later — for now, leave it at its neutral, flat default. Its
curve gets dialed in per model once snapshots are built.
Add the Master Volume
Section titled “Add the Master Volume”Drag one more Amp processor onto the layer, after the EQ. This one acts as the voice’s overall master volume, and gets wired up to a single global volume knob later.
Give it a descriptive name so its purpose is unambiguous. Click the pencil icon next to the new amp’s name, in the top-left corner of the processor.
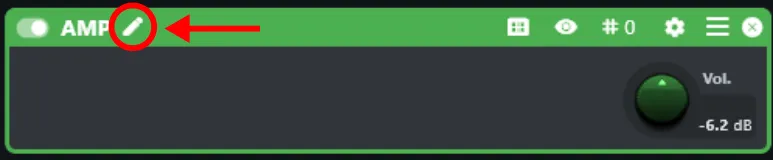
Rename it — this walkthrough uses Master. Beyond making the chain easier to read at a glance, a clearly-named processor also helps the built-in AI later, if any sound-design tasks get delegated to it: a processor named “Master” is something it can reason about directly from a prompt that mentions “master volume,” rather than having to guess at an anonymous chain position.
Add the Reverb Send Layer
Section titled “Add the Reverb Send Layer”The convolution reverb heard on the piano isn’t a processor inside main.flr —
like the send busses in the 303 walkthrough, it’s a separate send layer, a
small audio-only chain the main layer’s signal gets routed to. This walkthrough
only needs one such layer, for reverb; there’s no chorus or delay send this
time.
Right-click the layers node in the file tree and choose Create new Layer.
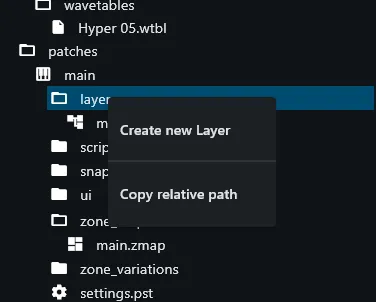
Name it reverb.
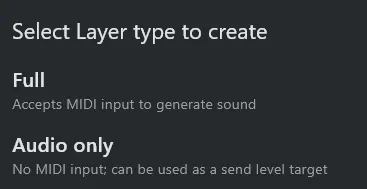
In the dialog that follows, pick Audio only — a send layer has no zone map or source of its own, it only processes incoming audio.
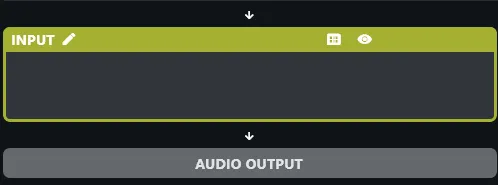
Double-click the new reverb layer to open it. It starts out as a blank audio
layer.
Add the Convolution Reverb
Section titled “Add the Convolution Reverb”In the new reverb layer, drag in a Convolution Reverb processor.
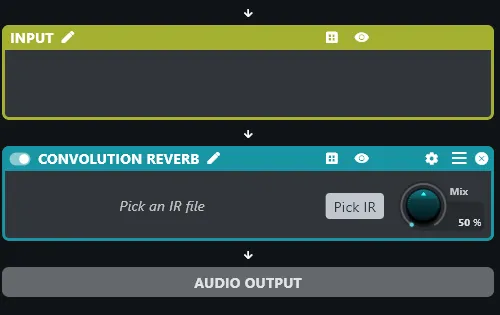
Two settings can be taken care of right away, before the IR sample itself is even loaded:
- Set the Mix parameter to 100%. Since this processor only exists inside a dedicated send layer, its whole purpose is to return processed (wet) signal — there’s no dry signal to blend against, so it should always be fully wet.
- Drag in one more Amp processor, after the Convolution Reverb, and set its Vol. knob to -20 dB. This is the reverb’s overall return level — how loud the wet signal comes back into the mix, independent of the actual reverb parameters. -20 dB is a reasonable starting point; it gets refined once the IR is actually loaded and audible.
Loading the actual impulse response and dialing in the reverb’s character happens later in this chapter, once the IR sample has been marked as usable by the project.
Add the Send Levels Processor
Section titled “Add the Send Levels Processor”Switch back to main.flr. Drag a Send Levels processor to the very end of
the chain, after the Master amp. Unlike the processors above, this one has no
preset — a send connection is specific to the layers in your project, so it
can’t be saved that way.
Assign the reverb layer to the first slot of the Send Levels processor.
Mark the IR Sample as Used
Section titled “Mark the IR Sample as Used”The bundler only packages assets that are actually referenced somewhere in the patch. Left as-is, the IR sample imported in Gathering Assets just sits unused in the project’s asset folder and would silently be dropped when the instrument is published later — it has to be explicitly told it’s needed.
Double-click patches -> main -> settings.pst in the file tree to open the
patch settings.
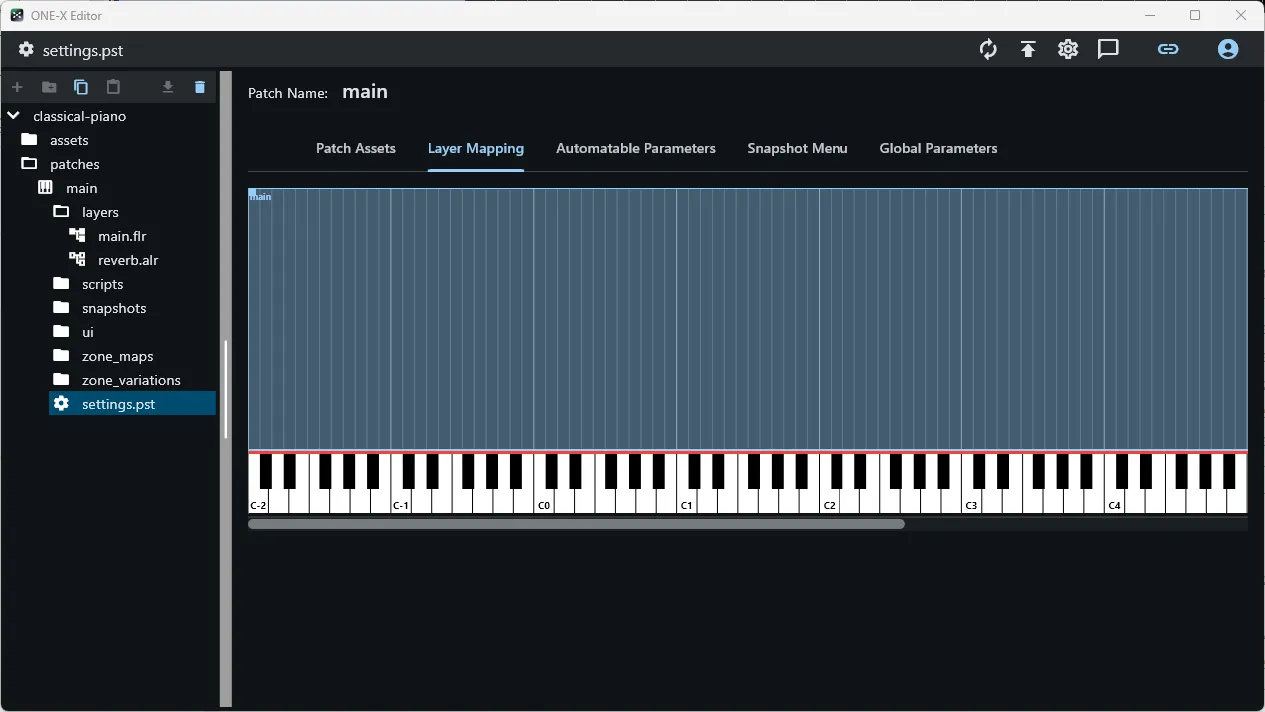
Switch to the first tab, Patch Assets, and drag the IR sample — from its place under the assets folder — into the list. It appears as a new row.
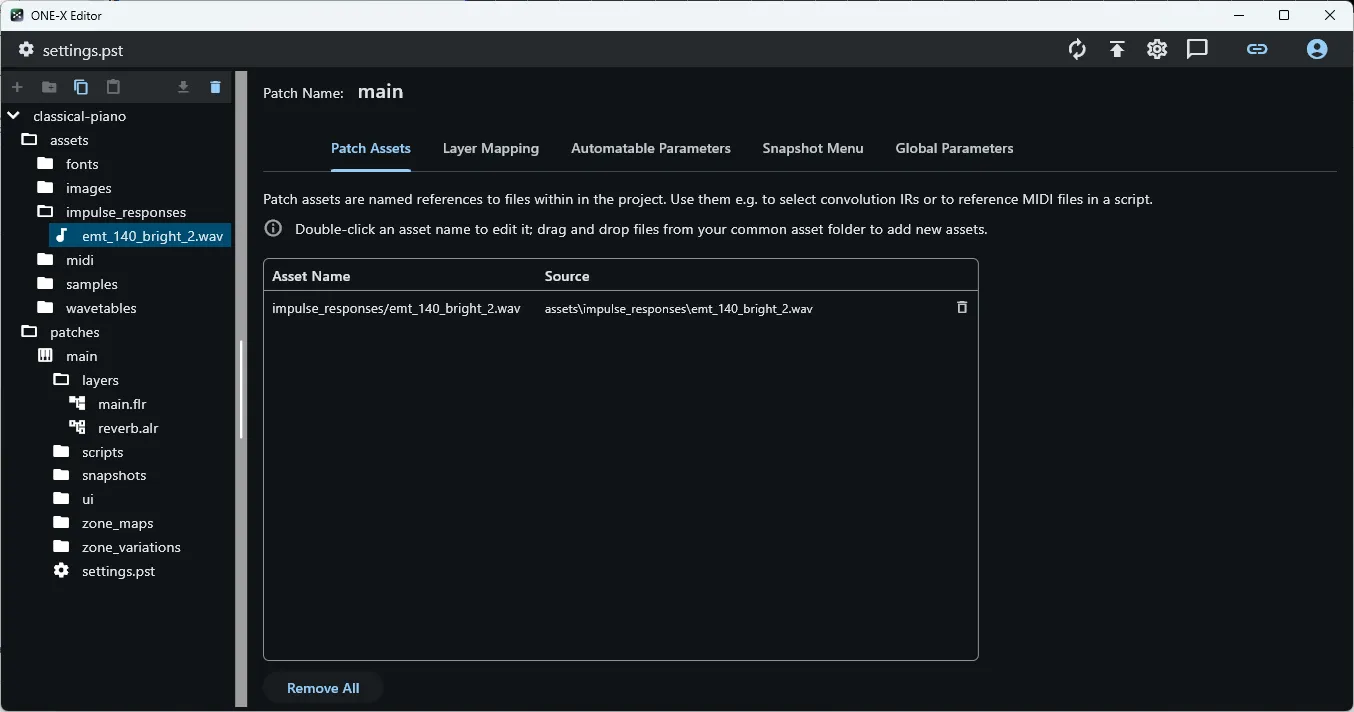
To keep the list manageable, give the row a speaking name instead of leaving it
as a raw filename. Double-click the first cell in the row to edit it — this
walkthrough uses Plate.
Assign the IR to the Convolution Reverb
Section titled “Assign the IR to the Convolution Reverb”Switch back to the reverb layer and click Pick IR on the Convolution
Reverb processor. In the dialog that opens, double-click Plate.
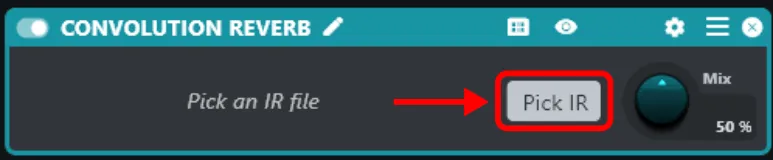
The convolution reverb is now using the EMT-140 plate IR.
Dial In the Reverb Amount
Section titled “Dial In the Reverb Amount”With the IR loaded, the piano now audibly uses the reverb send whenever a note
is played. The overall amount of reverb is controlled by the Level parameter
on the reverb slot of main.flr’s Send Levels processor — turn it up or down
to taste.
Outline
Section titled “Outline”- Master volume, exposed as a global (host-automatable) parameter
- End state: a playable, if not yet pedal-aware, piano voice