Sound Design
Build the Zone Map
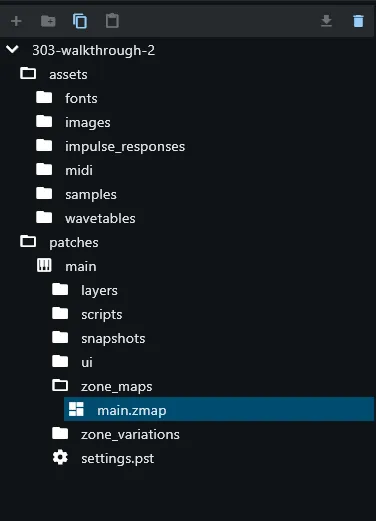
Section titled “Build the Zone Map”The bass voice’s sound source is a zone map covering the wavetable imported in
the previous chapter. Expand patches -> main -> zone_maps in the file tree and
double-click main.zmap to open it.
Drag the imported wavetable from the file tree into the zone map, dropping it so it covers the map fully — the entire key and velocity range.
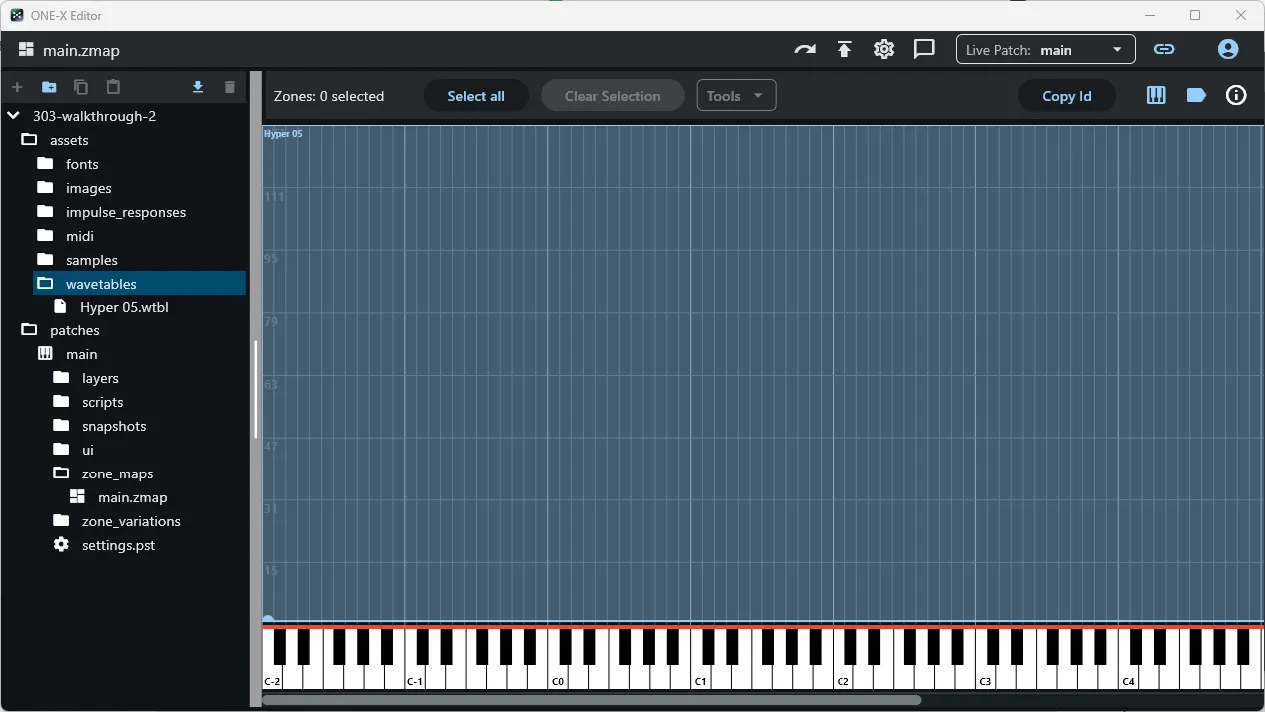
Everything from here builds on top of this single zone: the whole sequencer plays from this one wavetable.
Open the Layer Editor
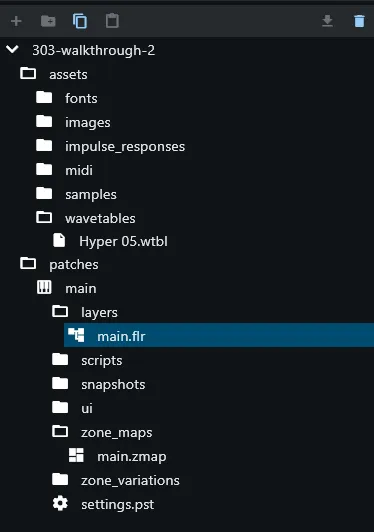
Section titled “Open the Layer Editor”Expand patches -> main -> layers and double-click main.flr to open the layer
editor. This is where the processor chain — and everything covered in the rest
of this chapter — gets built.
Insert an Amp
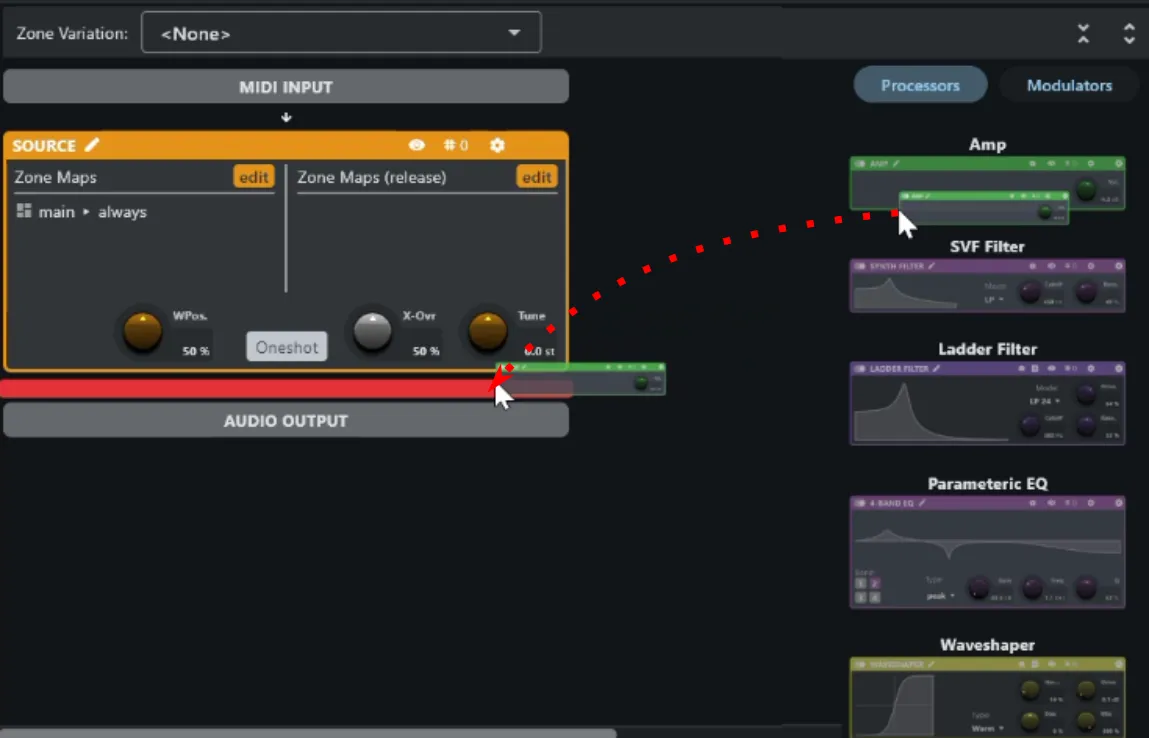
Section titled “Insert an Amp”Drag an Amp processor from the processor list on the right and drop it directly below the source processor in the chain.
Modulate Amp Volume with an Envelope
Section titled “Modulate Amp Volume with an Envelope”Switch to the Modulators tab in the processor list.
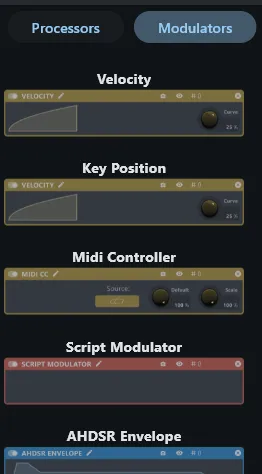
Drag an AHDSR Envelope onto the amp’s Vol. knob.
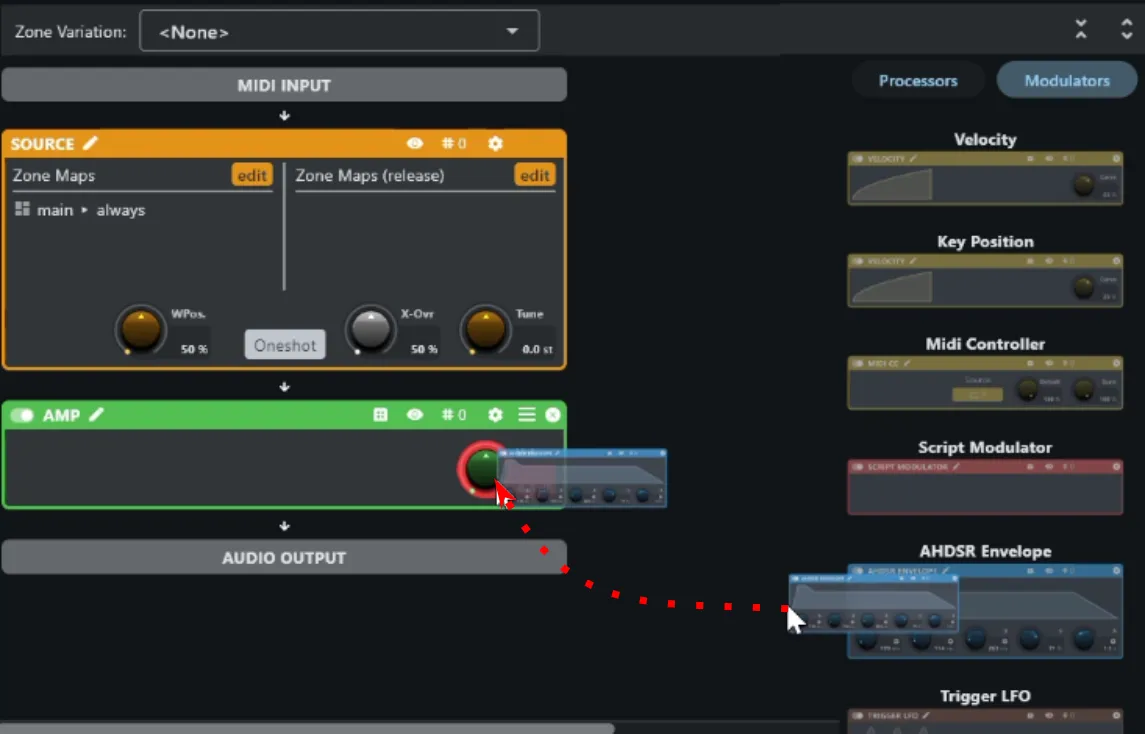
Then drag a Velocity modulator onto the same Vol. knob.
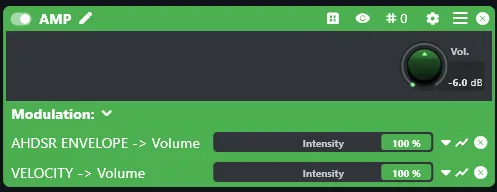
Together these two modulators shape the amplitude: the envelope controls the attack and release contour of each note, while velocity scales the overall level so harder-played steps hit louder.
Apply the Envelope Preset
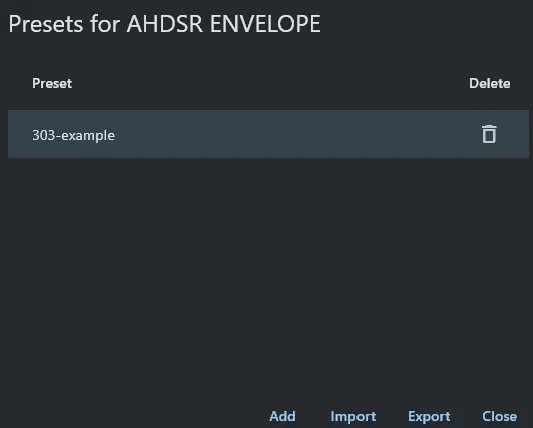
Section titled “Apply the Envelope Preset”Rather than dialing in the envelope’s stages by hand, this walkthrough ships a ready-made preset in the custom asset bundle from Gathering Assets. Open the envelope’s preset dialog.
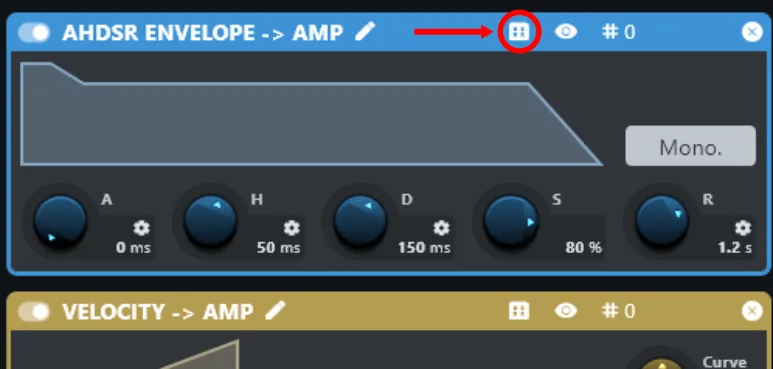
Click Import and pick the matching preset file from the unpacked asset bundle. Double-click the newly imported preset in the dialog to apply it — this also closes the dialog.
Add the Waveshaper
Section titled “Add the Waveshaper”Drag a Waveshaper processor onto the layer, below the amp.
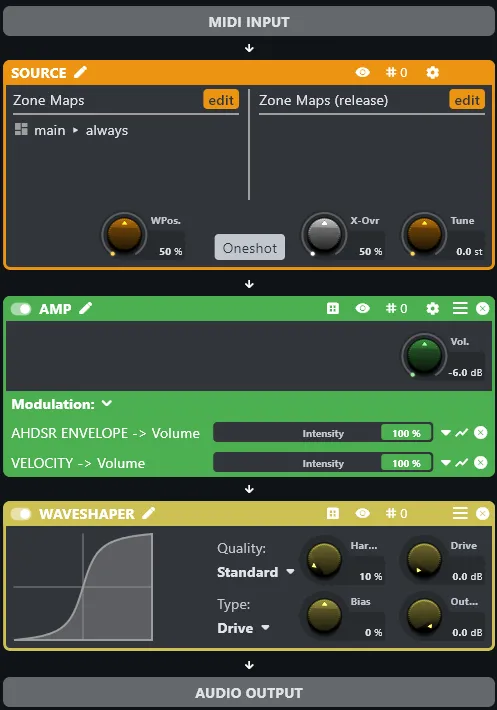
Apply its preset the same way as the envelope preset above: open the waveshaper’s preset dialog, import the included preset, then double-click it to apply.
Add the Filter
Section titled “Add the Filter”Drag an SVF Filter processor onto the layer, after the waveshaper.
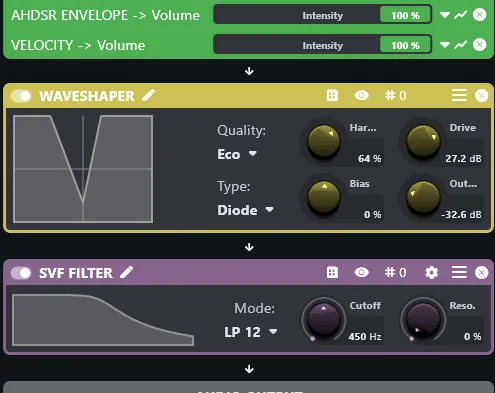
Import and apply the filter’s preset the same way.
Attach an Envelope to the Filter Cutoff
Section titled “Attach an Envelope to the Filter Cutoff”With the filter in place, attach an AHDSR Envelope to its Cutoff knob — the same drag-from-Modulators-tab gesture used for the amp volume envelope earlier. This envelope is what the RT script will drive per-step to create the classic filter sweep characteristic of the 303 sound.
Import and apply the included envelope preset the same way as before.
After applying the preset, two adjustments are needed on the filter’s Cutoff modulation connection.
Set the intensity to 40%. The intensity fader — the horizontal fader at the bottom of the filter processor — controls the depth of the modulation. Set it to 40%. This gives the filter envelope enough headroom for the RT script to modulate it per-step without pushing the cutoff into full open or fully closed.

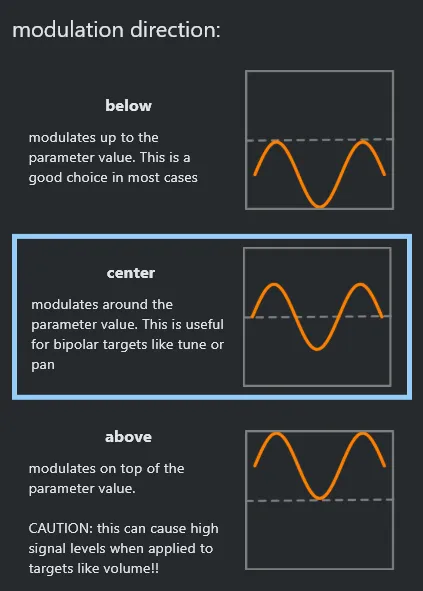
Set the modulation direction to Center. Click the Modulation Range button on the filter processor.
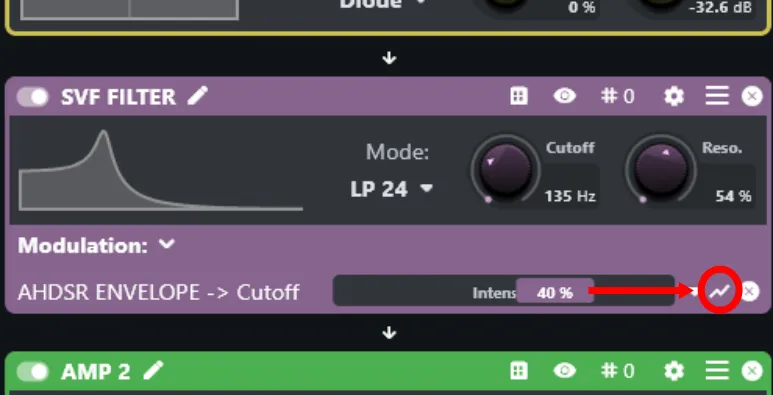
In the dialog that opens, change the modulation direction from Below to Center. This makes the envelope modulate symmetrically around the current cutoff value — pushing the filter both up and down — rather than only opening it up to its resting position.
Add the Master Volume
Section titled “Add the Master Volume”Drag one more Amp processor onto the layer, after the filter. This is the layer’s master volume — leave it at its default for now; it gets wired up to the global volume control in Global Parameters.
Add the Send Busses
Section titled “Add the Send Busses”The chorus, reverb, and delay heard on the bass voice aren’t processors inside
main.flr — they’re three separate send layers, each a small audio-only
chain the main layer’s signal gets routed to. This walkthrough names them
chorus, reverb, and delay, but the names are your choice.
Chorus Send
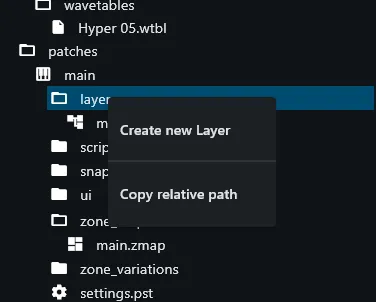
Section titled “Chorus Send”Right-click the layers node in the file tree and choose Create new Layer.
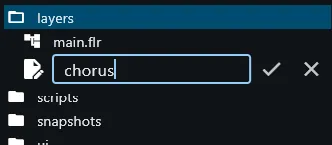
Name it chorus.
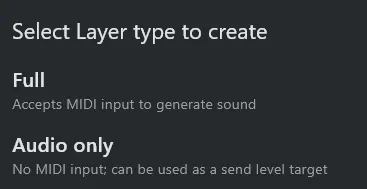
In the dialog that follows, pick Audio only — a send layer has no zone map or source of its own, it only processes incoming audio.
Double-click the new chorus layer to open it. It starts out as a blank audio
layer.
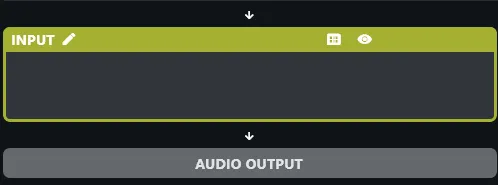
Drag in two processors: a Chorus, followed by an Amp. Set the Amp’s Vol. knob to -12 dB, then import and apply the included Chorus preset.
Reverb and Delay Sends
Section titled “Reverb and Delay Sends”Repeat the same procedure twice more:
- A layer named
reverb, Audio only, containing a Reverb followed by an Amp at -12 dB, with the included Reverb preset applied. - A layer named
delay, Audio only, containing a Delay followed by an Amp at -12 dB, with the included Delay preset applied.
Add the Send Levels Processor
Section titled “Add the Send Levels Processor”Back in main.flr, drag a Send Levels processor to the very end of the
chain. Unlike the processors above, this one has no preset — a send connection
is specific to the layers in your project, so it can’t be saved that way.
Instead, manually assign the three target layers to the first three slots in
order: chorus, delay, reverb.
That’s the end of Pass 1 sound design. The signal chain in main.flr is now
complete: source → amp (with envelope) → waveshaper → filter (with envelope) →
master amp → send levels.
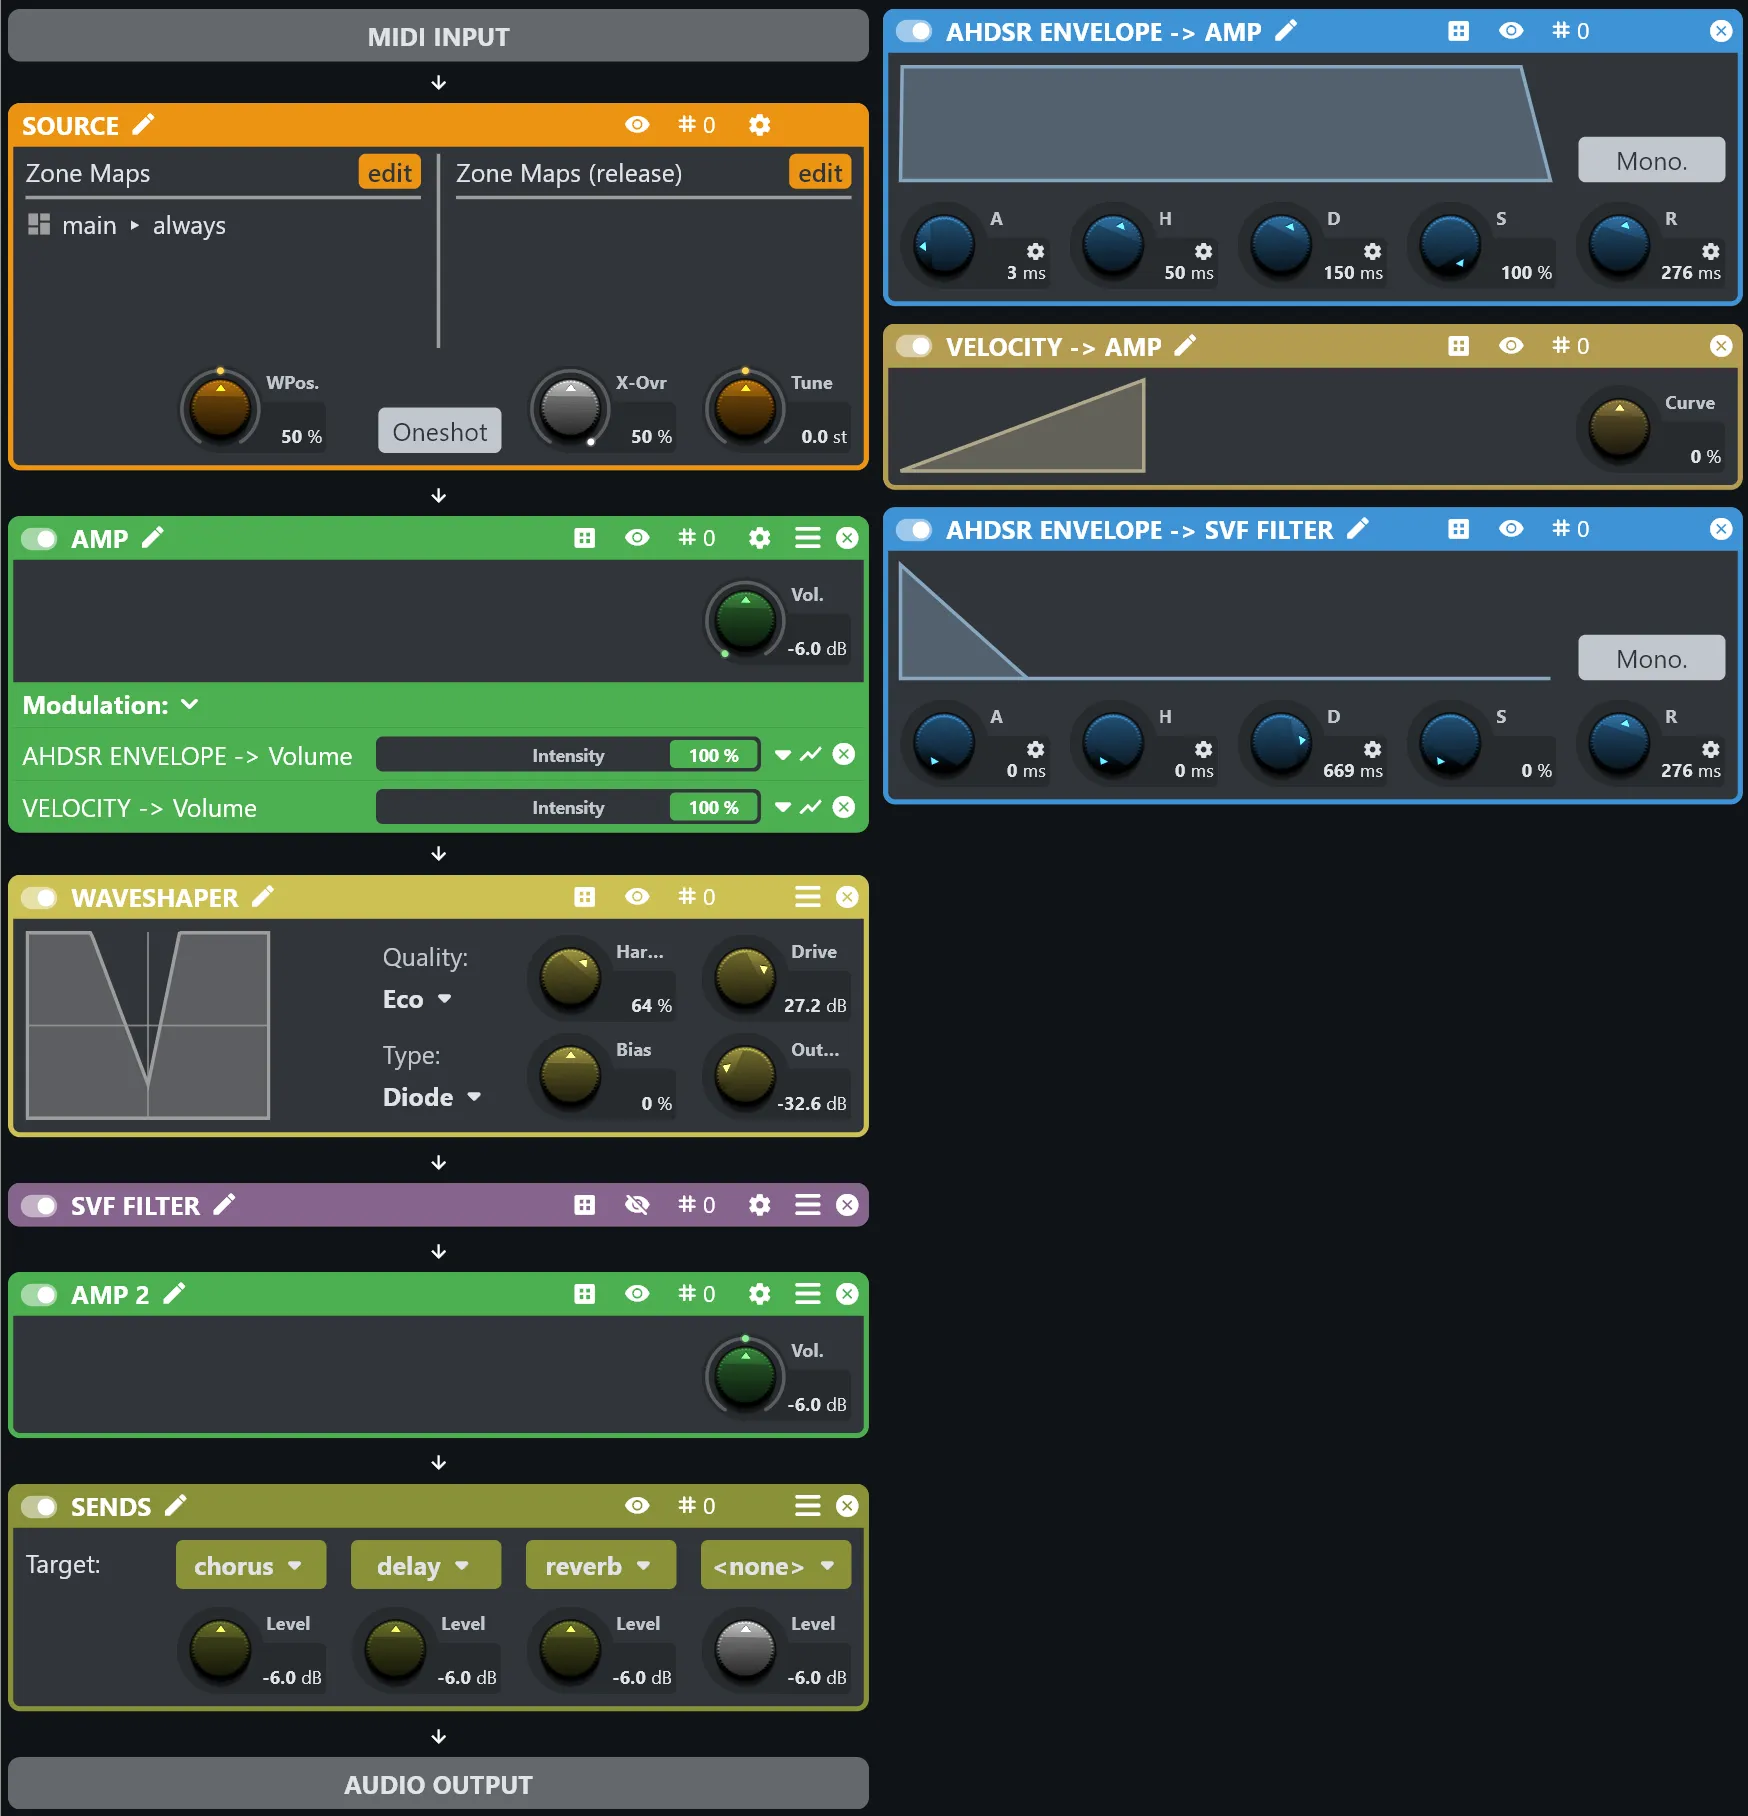
Tip — Collapsing processors. With several processors in the chain, the layer editor can get crowded. Click the eye icon on any processor to collapse it to a compact strip, hiding its controls without removing it from the chain. Click the eye again to expand it.
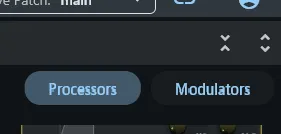
The two icons in the upper-right of the layer editor collapse and expand all processors at once — useful for getting a bird’s-eye view of the full chain.

Script modulators — needed for per-step wavetable position and filter envelope intensity — are added in Sound Design Pass 2.