Gathering Assets
Download the Assets
Section titled “Download the Assets”This walkthrough needs one download, containing everything not already shipped with the editor:
classical-piano-walkthrough-assets.zip
It bundles:
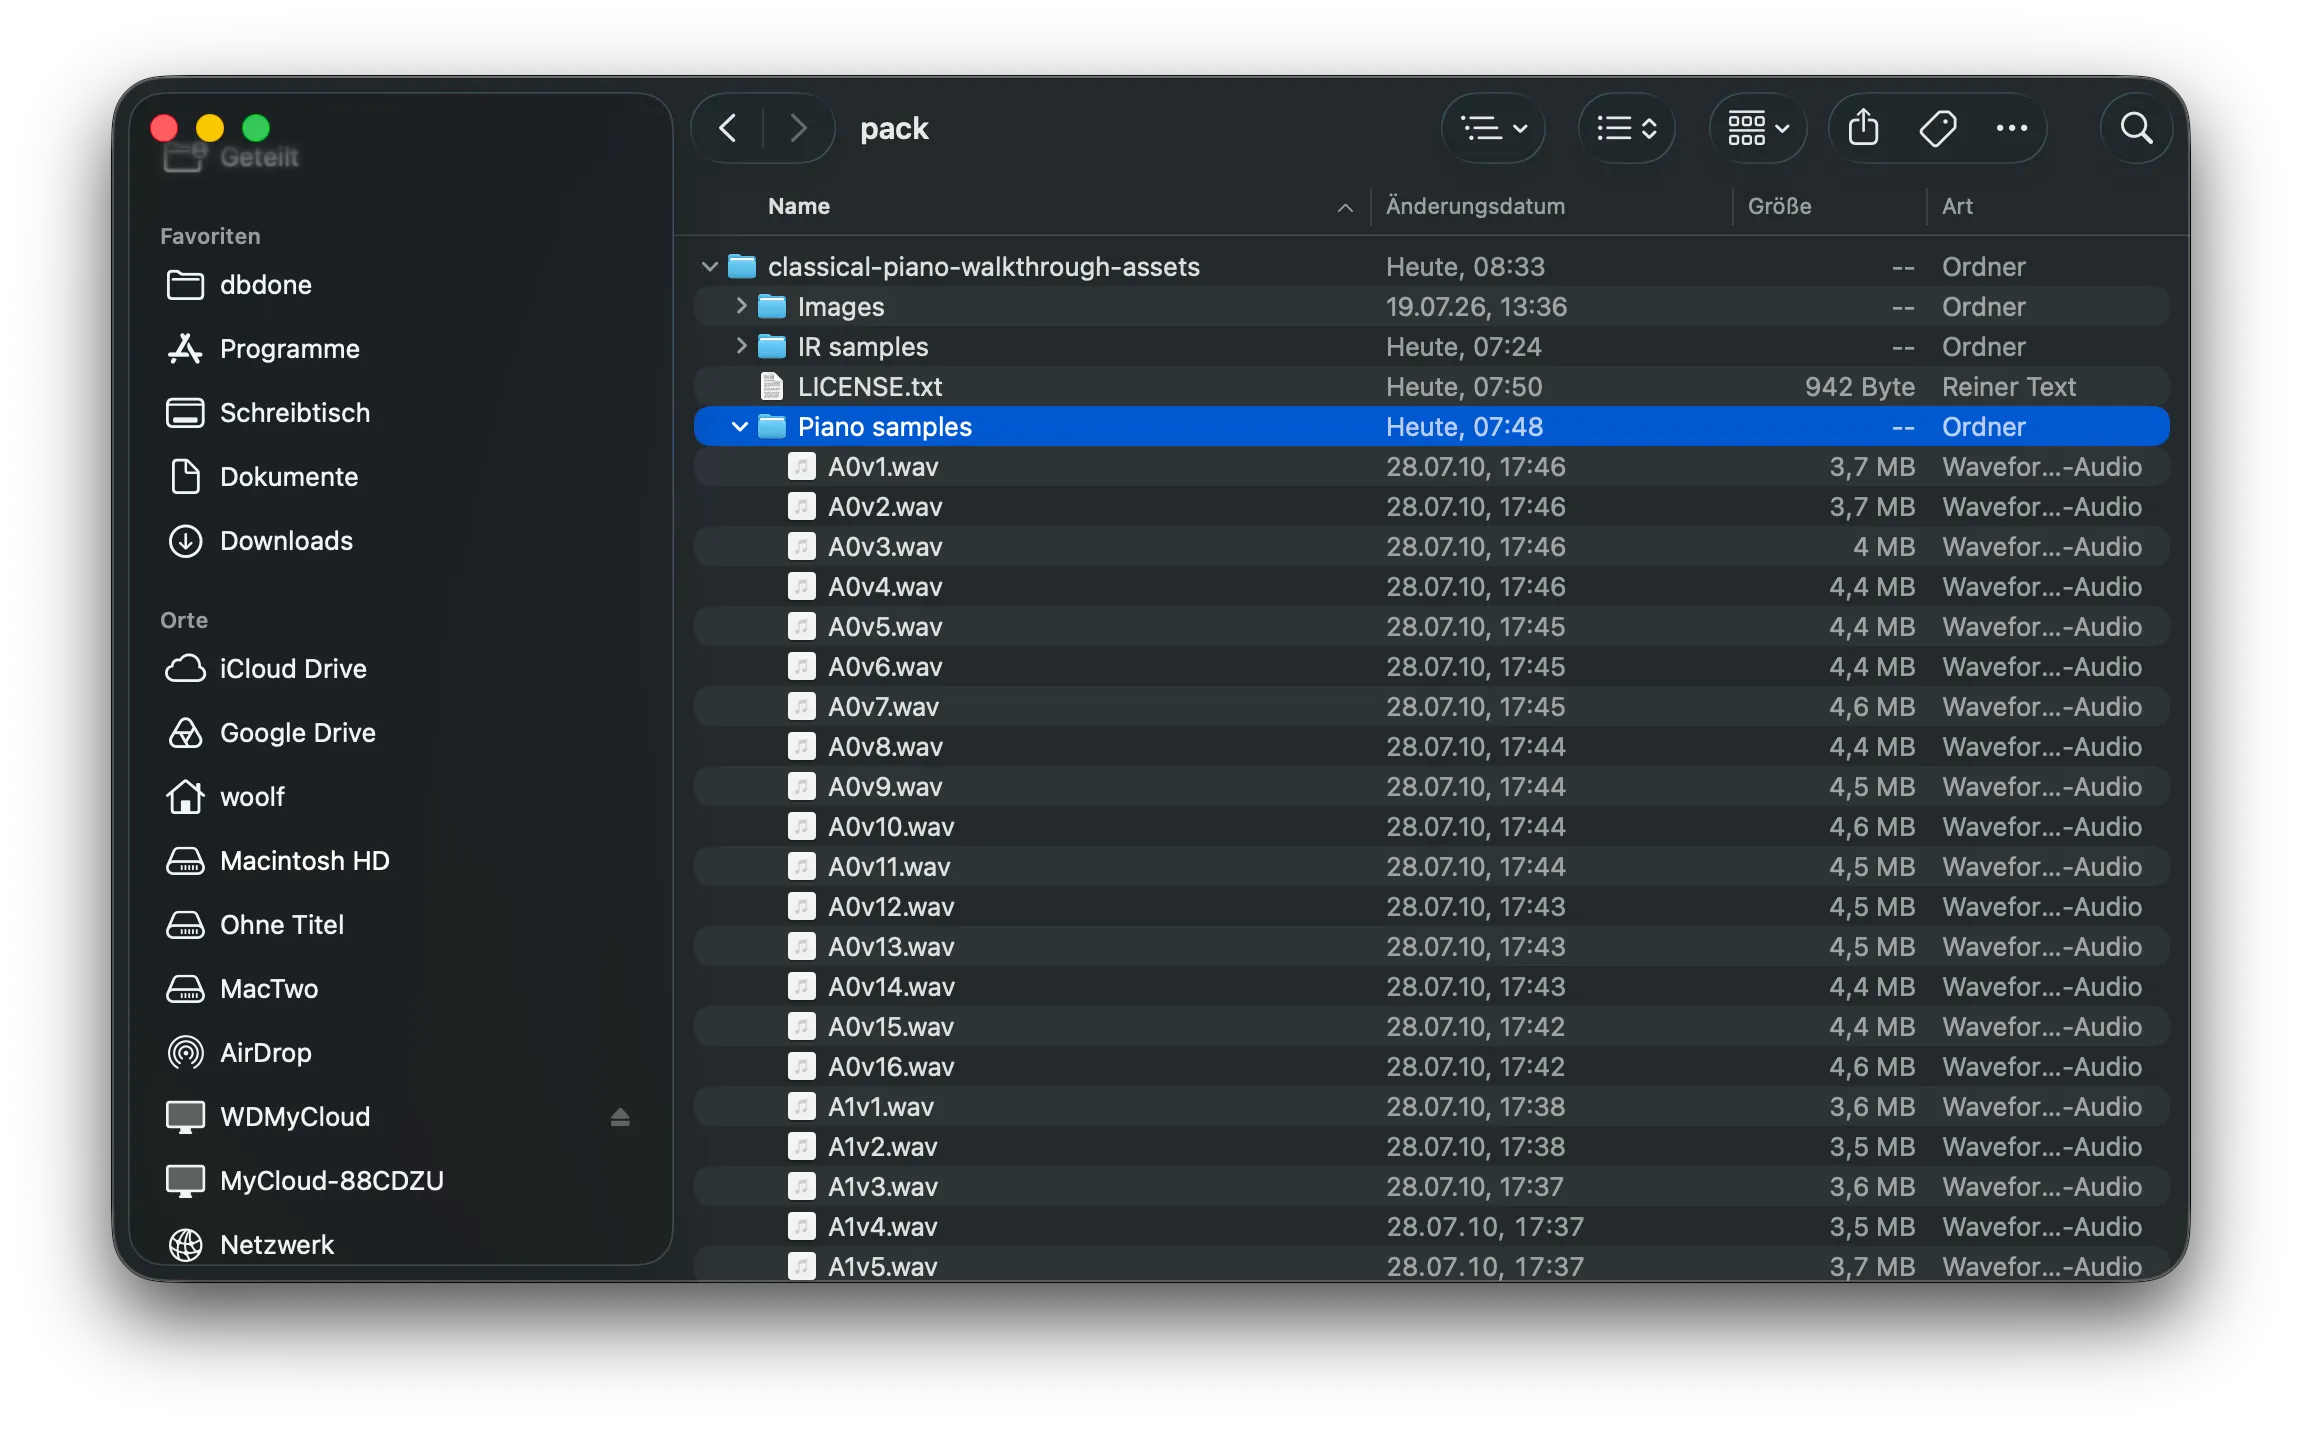
- Piano samples — the sound source for the piano voice, covered in detail below. The same folder also includes the damper and pedal noise samples used later, in Sound Design (Pass 2), to add mechanical realism.
- Reverb IR sample — a single impulse response used for the instrument’s global reverb, covered in detail below.
- Custom assets — the background art and control graphics used in UI: Static Layout, plus any ready-made processor presets used in sound design.
Download it and unpack it wherever you like on disk — the exact location doesn’t matter yet. Where it matters is covered next, when the project itself gets created.
The Piano Samples: Salamander Grand Piano
Section titled “The Piano Samples: Salamander Grand Piano”The piano voice is built on the Salamander Grand Piano, a freely licensed multisample of a Yamaha C5 grand recorded by Alexander Holm, included in the asset bundle above as individual WAV files.
The Reverb IR: EMT-140 Plate
Section titled “The Reverb IR: EMT-140 Plate”The instrument’s global reverb is a convolution reverb, built around a single
impulse-response (IR) recording rather than an algorithmic simulation. This
walkthrough uses an IR of a classic EMT-140 plate reverb unit, included in the
asset bundle above as emt_140_bright_2.wav.
Create the Project
Section titled “Create the Project”Open the Editor. The launch screen greets you with a list of recently opened projects and a button to start a new one.
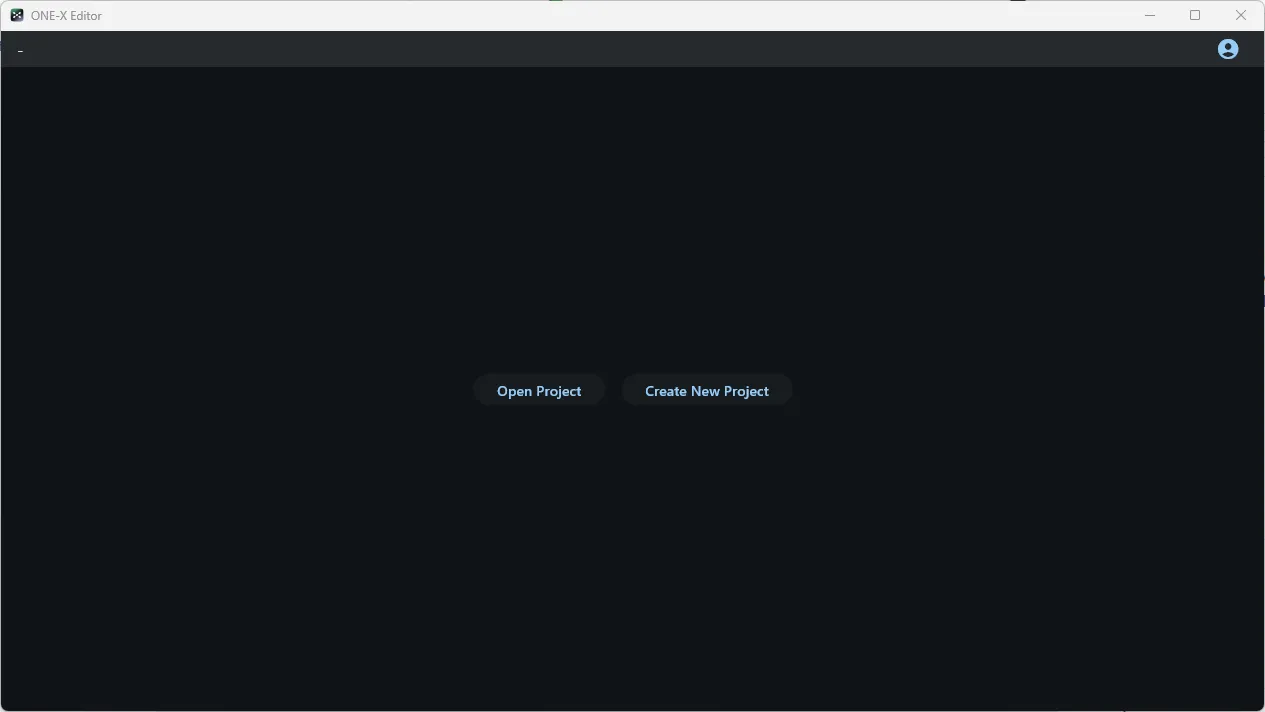
Click Create New Project, then pick a folder and a name in the file dialog.
Keep the project folder separate from the assets folder. Wherever you choose to create the project, make sure it’s a different location from wherever the asset bundle was unpacked above. The two folders have no relationship on disk — nothing gets pulled into a project by being copied nearby. Every asset is added explicitly, one import step at a time, starting in the next section. Keeping the folders apart from the start avoids the temptation to drop raw files straight into the project tree instead of importing them properly.
This walkthrough uses classical-piano as the project name, but the name is
arbitrary — use whatever you like.
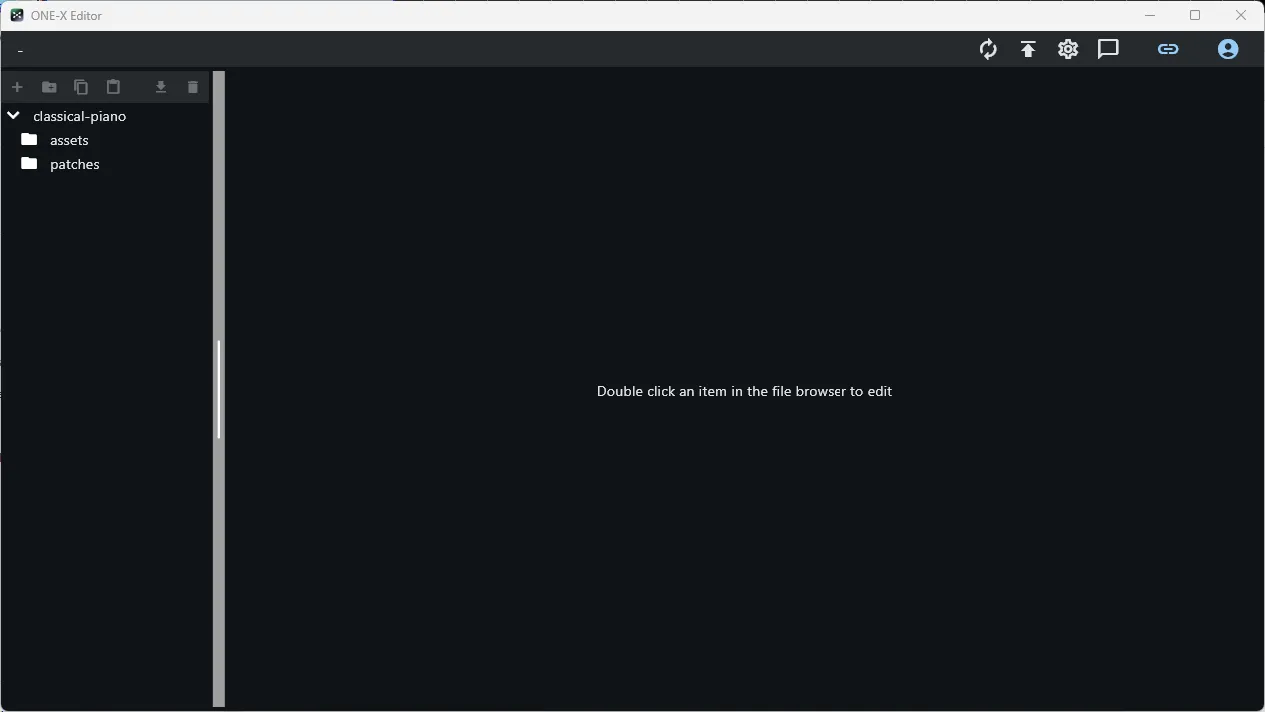
Once the project is created, the editor launches the standalone plugin automatically and shows the new project’s minimal default structure.
Import the Piano Samples
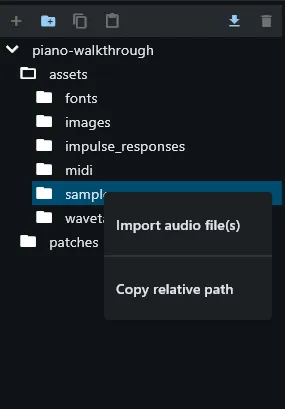
Section titled “Import the Piano Samples”In the project file tree, expand assets and right-click the samples folder. Choose Import audio file(s).
A dialog opens asking whether to import individual files or an entire folder.
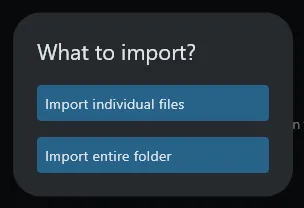
Choose the whole-folder option and point it at the Piano samples folder
unpacked from the asset bundle earlier. With 16 velocity layers spread across
the keyboard — plus the damper and pedal noise samples bundled in the same
folder — that’s a large number of individual WAV files — importing the whole
folder in one pass avoids selecting them one by one.
All the samples are now available as project assets, ready to be mapped onto the keyboard in the next chapter. Only the sustain samples are mapped there; the damper and pedal noise samples stay unused until Sound Design (Pass 2).
Import the IR Sample
Section titled “Import the IR Sample”In the project file tree, expand assets and right-click the
impulse_responses folder. This time, choose Import single file — the
reverb only needs the one WAV file downloaded above, not a whole folder. Pick
emt_140_bright_2.wav, found in the IR samples folder of the unpacked asset
bundle, in the file dialog.
The IR sample is now available as a project asset. How it gets used by the convolution reverb is covered in Sound Design (Pass 1).
Import the Custom Images
Section titled “Import the Custom Images”The asset bundle downloaded at the start of this chapter also contains an
Images folder, needed for UI: Static Layout. Import it
now, the same way as in the 303 walkthrough.
In the project file tree, expand assets and right-click the images folder. Choose Import image(s).
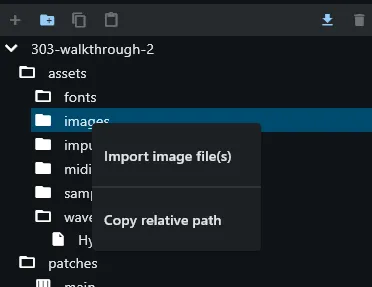
The image import dialog opens.
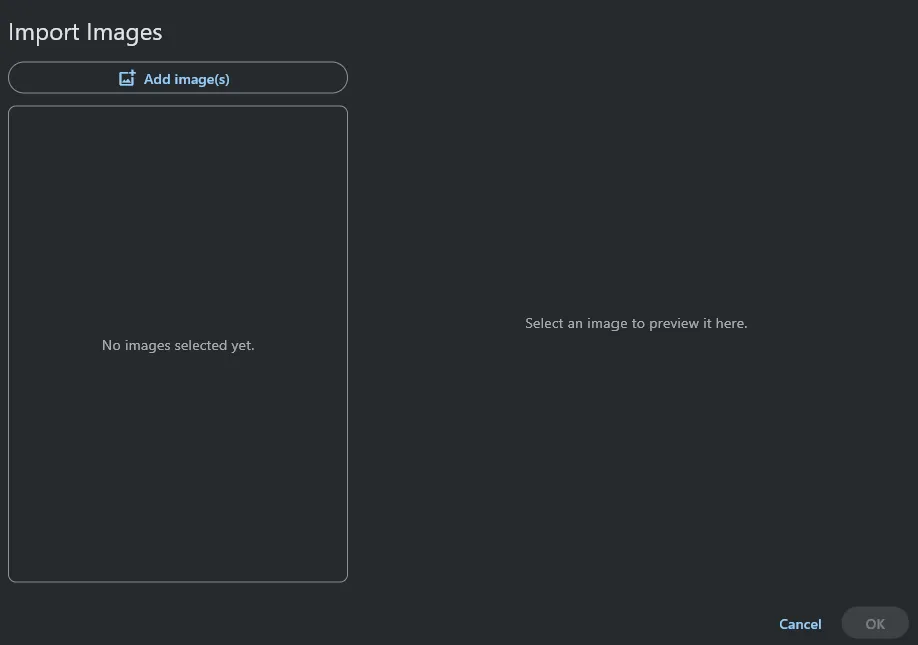
Click Add image(s) and navigate to the unpacked asset bundle, into
its Images folder. Select every file in it — there’s no other file type mixed
in here to leave out — and confirm the selection.
One of the images is a phase bitmap (a filmstrip). Unlike the 303 walkthrough, no manual configuration is needed for it here — orientation and frame count are already correct as supplied. Click OK to finish the import.
Outline
Section titled “Outline”- Import the custom processor presets